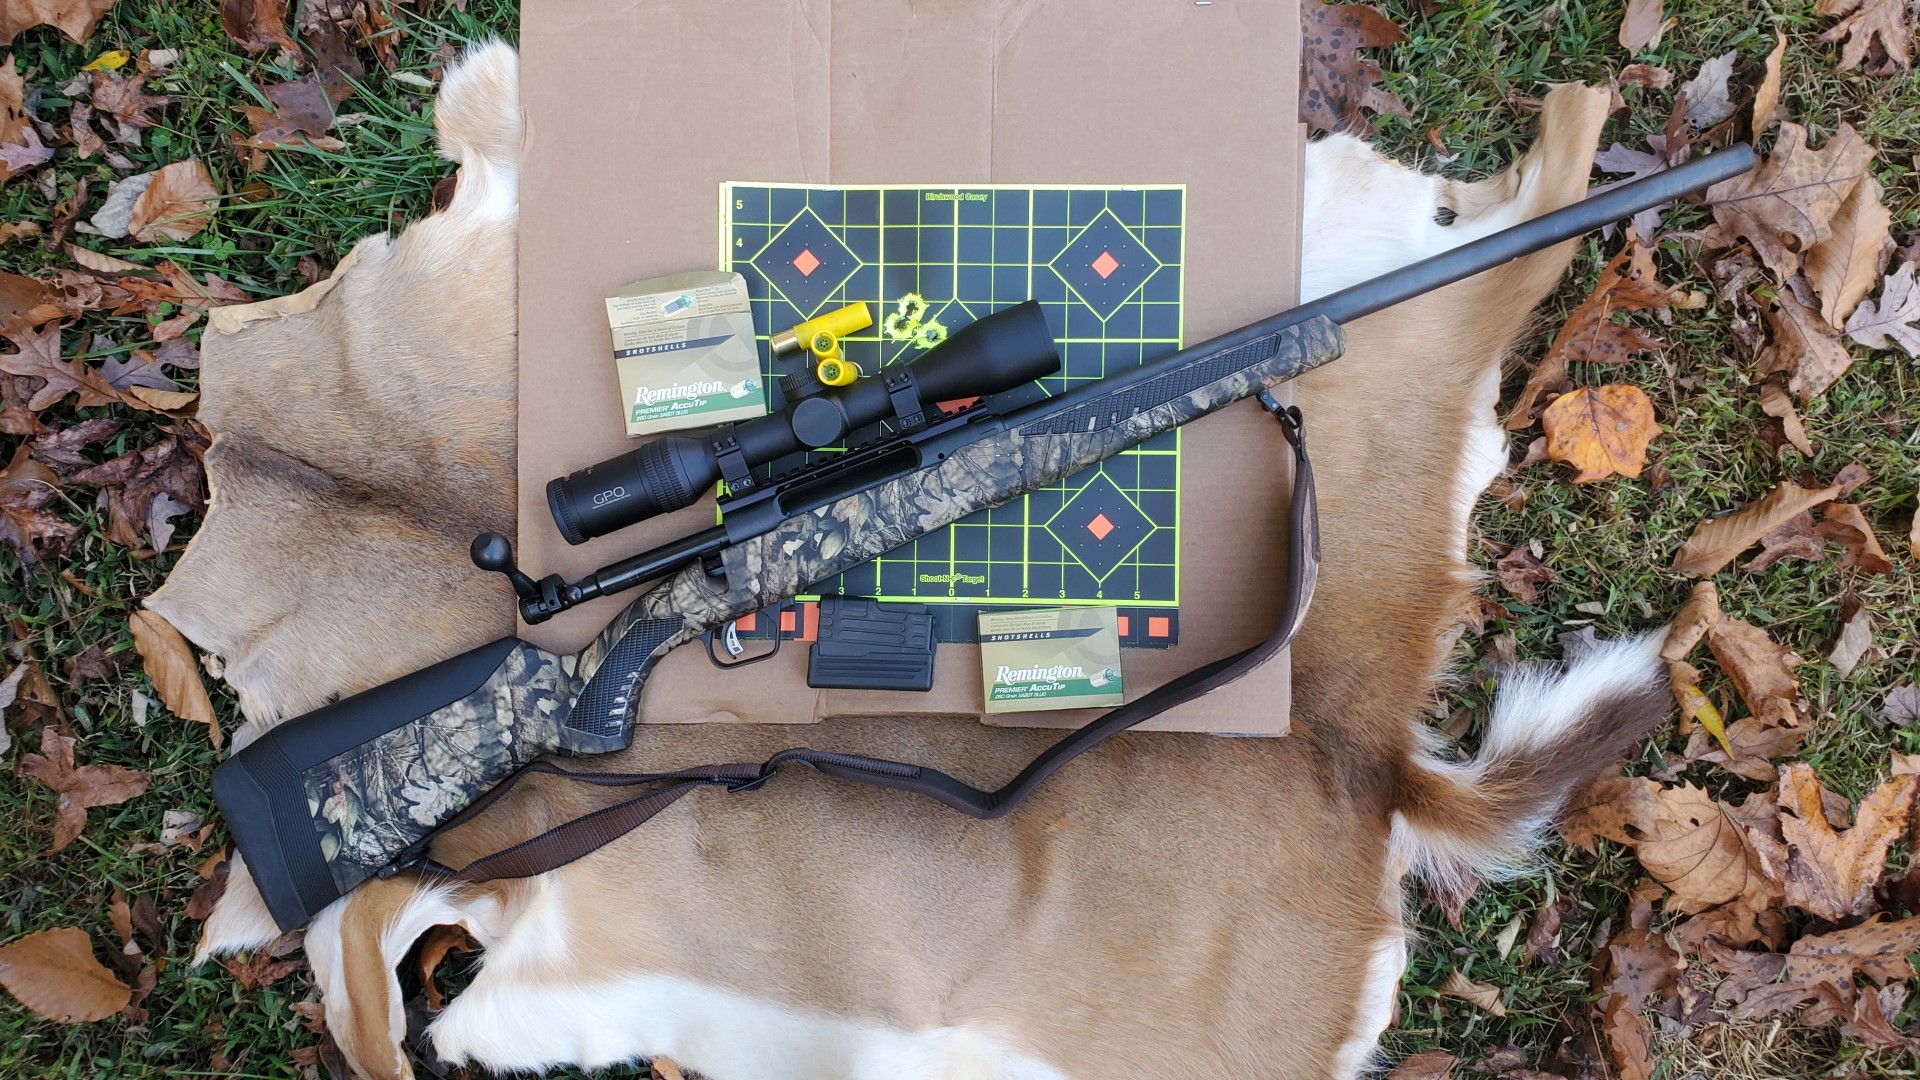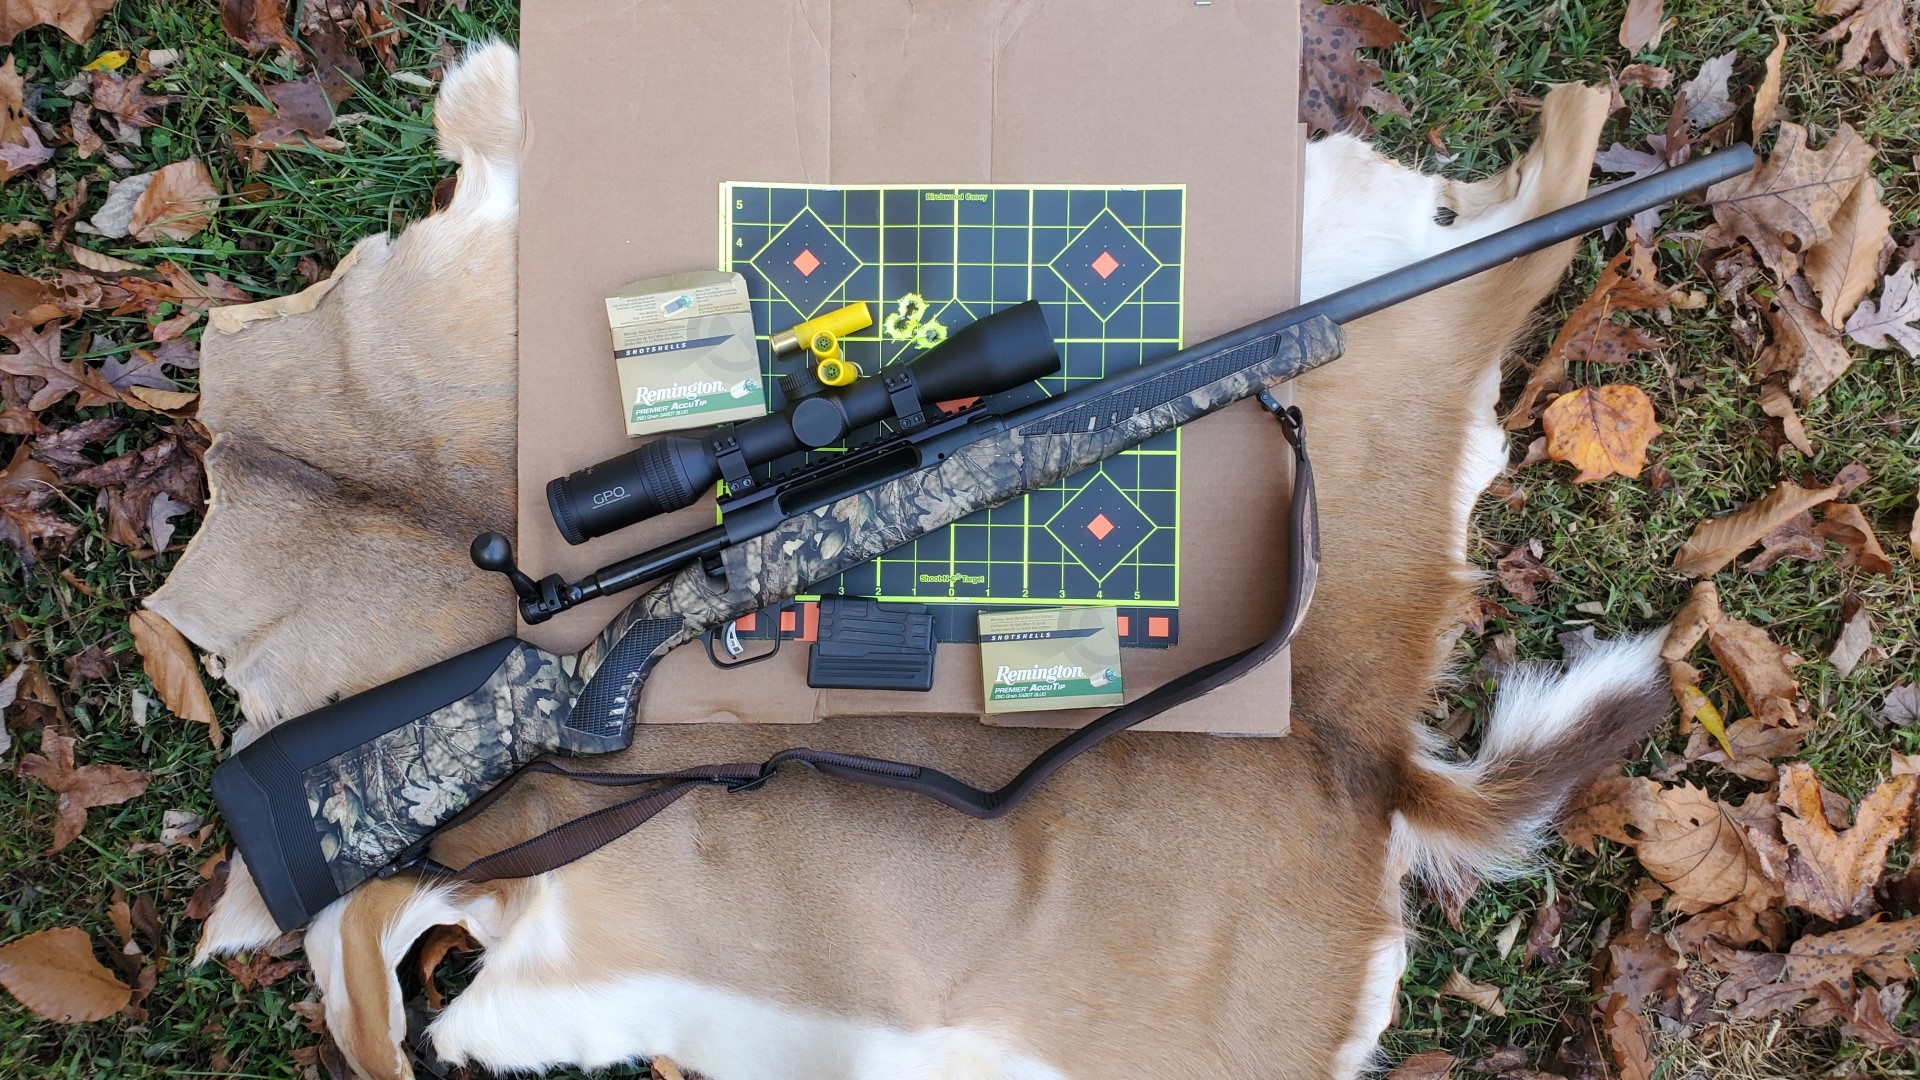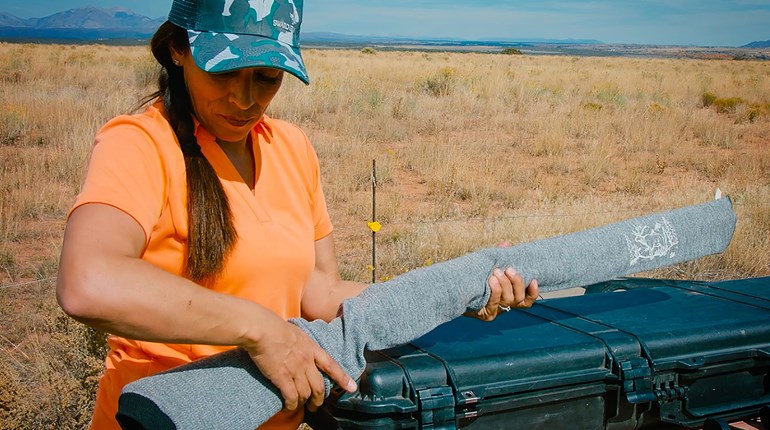
Everyone is out hunting, and soon all of our Internet feeds will be filled with photographs of trophies. In recent times, I've been attacked for my social media shares of hunting photos, not just by anti-hunters...but also by non-hunters. What's the difference? Non-hunters are those who are not necessarily against hunting, but who may be easily tipped that direction. In the effort to keep these individuals leaning more toward supporting our traditions, I'd like to share a reminder about how we share our harvests. It is important to show respect for the magnificent animals as well as obtain beautiful memories of our time in the field to share with others. We need to make sure our photos are the best possible images. Here are a few tips I’ve been given over the years, and I am happy to share them with you.
1. The best photos of your trophy are taken in the area where you pursue it. Make the photo look as natural as possible. Although it’s part of the hunt, it doesn't do the animal justice to take a photo of it in the back of your pick up, on your 4-wheeler or hanging from your hoist. Photographs look much better if you have trees or shrubs in the background.
2. Prepare the animal so it looks as natural as possible. Be sure to clean any blood from its coat. Cover puddles of blood with dirt, leaves or fresh snow. At times, you may need to lay a jacket over hard-to-conceal puddles.
3. Pet or brush the animal’s fur in the proper direction. Put its tongue in its mouth and clear the lips and nostrils of any blood. Remember to check periodically and make sure no additional blood has appeared. Some photographers carry pieces of fishing line to hold the mouth closed if necessary.
4. In order to have your animal look full-bodied and healthy, push it forward on its body. Fold its legs under its chest. This will give the body a healthy appearance. Depending on the size of your harvest, you may need to use your pack, large rocks or shooting sticks to brace its weight and prop it up.
5. We’ve all seen those images of the hunter sitting 10 feet behind their trophy. What’s the first thought that goes through your mind? “She’s sure trying to make that look bigger.” Always have at least one hand respectfully touching the animal.
6. Sit beside or behind the animal. Never sit on the animal. Hold on to the animal’s antlers only to attain a natural head position. Do not use its antlers to rest your bow or gun. Bows and guns can be held in your free hand or laid at an angle across the animal’s body.
7. Never have the barrel of the gun pointed at an angle where it appears to be pointed at persons in the photograph.
8. As a photographer, you should take care not to cut an animal’s antlers or horns out of a picture. It’s common to focus on your subject, but remember an elk may have very long main beams or even long tines. Keep an eye on where they will be in the photograph. You also want to make sure they’re not covering your subject’s face.
9. Pay attention to hats and sunglasses. Remove sunglasses and tilt ball caps up so the person’s eyes can be seen in the photo. If the animal has antlers, turn the animal’s head at various angles to see the depth of the antlers. Pay attention to shadows caused by antlers that can appear across a person's face. In order to eliminate some shadows caused by a hat on a bright sunny day, take photos up close with a flash.
10. Always take numerous pictures from various angles. The more photos you take at different angles, the better chance you have of getting one that doesn’t have a flaw such as a shadow across your chin, the appearance of a tree emerging from a person's head or other accidental detractors. Remember the basics and let us see those fantastic photographs.


