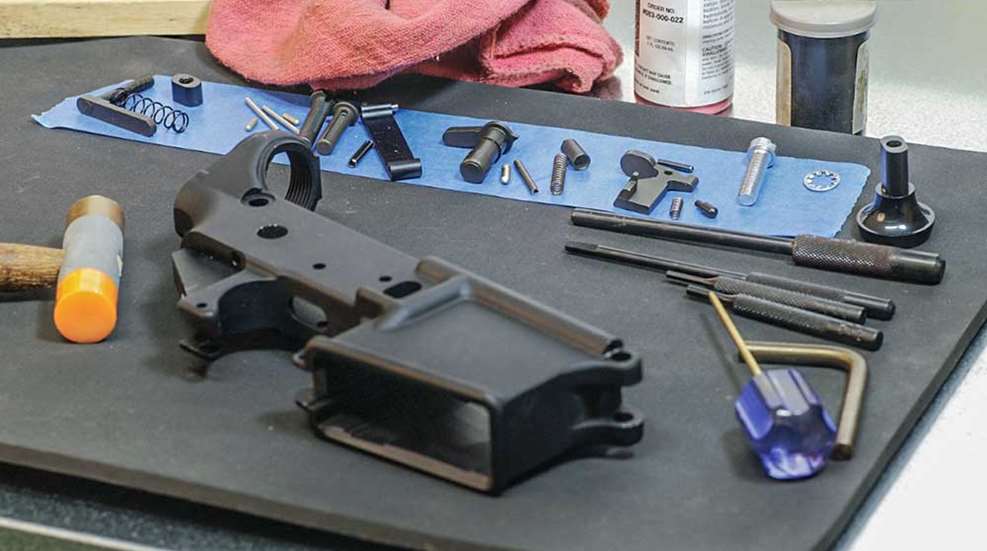
We’ve all heard the phrase, “Easier said than done,” meaning something is easier to explain than to do the task itself. And most people assume that phrase applies to building an AR-15. While it can be at times – mostly because some parts require special tools – some aspects of building an AR rifle are easier done than said because it takes more time to explain than doing the work itself.
Changing the Stock
Typically, this one is straightforward. There’s usually a lever that retracts the “lock pin.” This lock pin sits in indentations in the buffer tube, acting as a manually manipulated detent of sorts to secure the length of pull (LOP). If you pull the lever hard enough, it will further retract the lock pin to slide the stock off the buffer tube entirely. The same methods are used to slide a new stock on (mostly; some stocks are more complicated than others).
Changing the Charging Handle/BCG
This one is easy if you already know how to clean your AR. If not, just pop the rear takedown out, rocking the rear of the upper upward, using the front takedown pin as a fulcrum or hinge. Then grab the charging handle, pull rearward, and both it and the BCG comes out. Drop the charging handle notches on the side down through the recesses cut in the upper receiver, and the charging handle comes out.
To change these, simply reinstall the BCG and charging handle you want in the reverse order (charging handle first, followed by the BCG). Ensure the BCG’s gas key is aligned with the channel cut in the bottom of the charging handle before pushing both back into place. Lower the upper back down and push the rear takedown pin into place.
Changing Buffer Weights/Springs
If you’ve changed a BCG or charging handle before – or just now did it based on the previous instructions – this one starts exactly the same way. After getting the rear takedown pin pulled and moving the rear of the upper out of the way, you’ll just press down on the buffer retaining pin, pull the buffer and/or spring out, and put the new one in. Then lower the upper once more, pushing the lower takedown pin back in once the upper is seated.
Changing the Pistol Grip
This is perhaps the easiest of them all. There’s literally a screw and a washer inside the grip … and that’s it. Unscrew the screw, and with a bit of wiggling and pulling downward, the grip should come off. Just be careful not to lose the safety spring and safety detent!
Once the pistol grip is off, put the new grip on. When the grip is in place, screw the screw with the washer back into the bottom of the new grip. One note on the pistol grip screw: Different grips use different bits for the different screws that ship with the grip. Sometimes these are flat head screws, others are hex heads, and some others still are Phillips-head screws.
Changing Cartridges
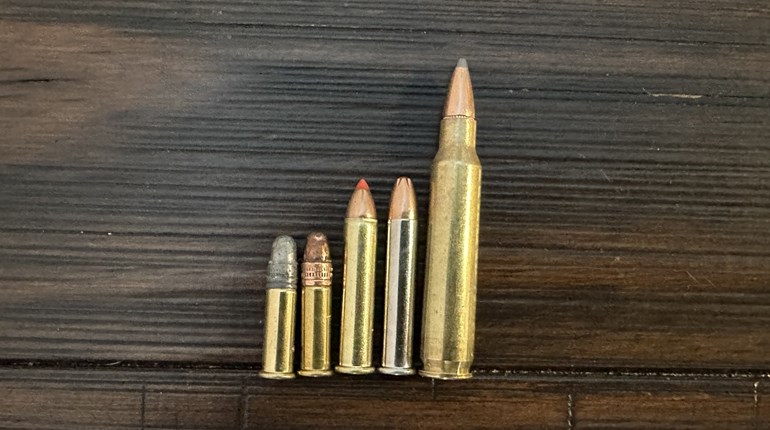
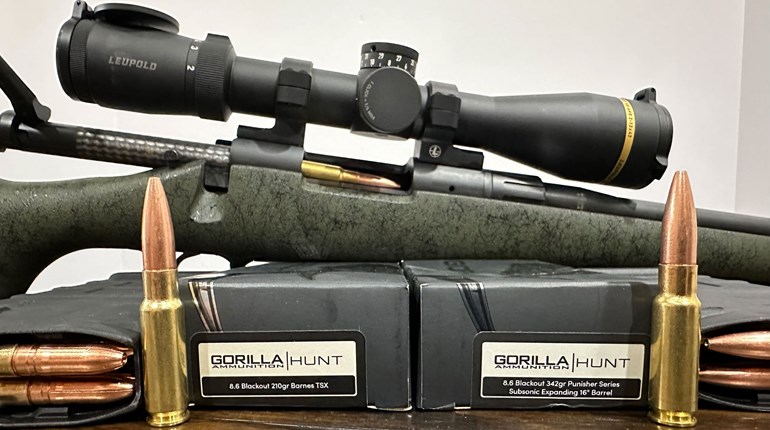
For this one, you’re literally just popping the takedown pins out, removing the upper, and putting the new upper on. Just make sure the new upper matches your lower (AR-15 lower/AR-15 upper, AR-10 lowers/AR-10 uppers). Also keep in mind some AR-15 and AR-10 cartridges, while they fit in the receiver, may require a special magazine, like the .50 Beowulf or the 6.5 Grendel.
Installing a Mag Release
First, put the magazine release spring on the bar coming off the magazine catch. Then start threading the mag release button onto the threaded end of the bar (make sure the textured side is facing outward). Once the mag release button is started on the bar, push it into the recess in the lower receiver. This will push the catch out on the other side.
From there, simply thread the catch until it’s flush when the mag release isn’t pushed, and drops a magazine when the release is pushed. Obviously, this can be tested for function by inserting a magazine into the magwell; if the magazine is seated and won’t drop free when the magazine release isn’t pushed, but will drop free when the magazine release is pushed, you’re good to go.
Installing Safety
As we talked about installing the grip and the safety spring and detent, if you can remove the grip, you can remove the safety. Remove the pistol grip as described above, and then let the spring and detent fall out of the bottom of the lower – don’t lose these!
The safety will then fall out of the side of the lower. To install a new safety, simply push the new safety through the holes drilled (inserting the safety from right to left), flip the lower upside down, put the detent and spring in, and then reinstall the grip, being careful again not to bend the spring.
Installing Bolt Catch
This one just takes a punch and hammer; it’s one of the few parts installs that needs any tools at all that aren’t part of a common tool kit (like the screwdriver mentioned to install the pistol grip and safety). Drop the bolt catch spring and plunger into the correct location in the lower (on the left-hand side), and then push the bolt catch into the corresponding slot above the plunger. Line up the hole in the bolt catch with the protruding roll pin nubs, and drive in the roll pin.
Good luck, and enjoy the process! The satisfaction of a job well done is well worth it, especially when it comes to building an AR.


