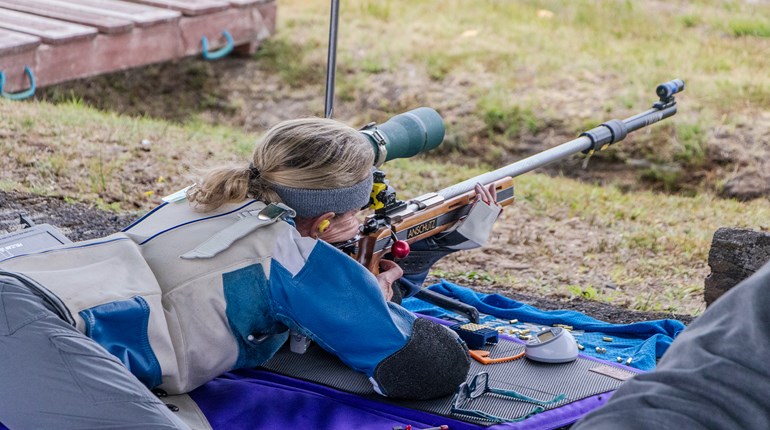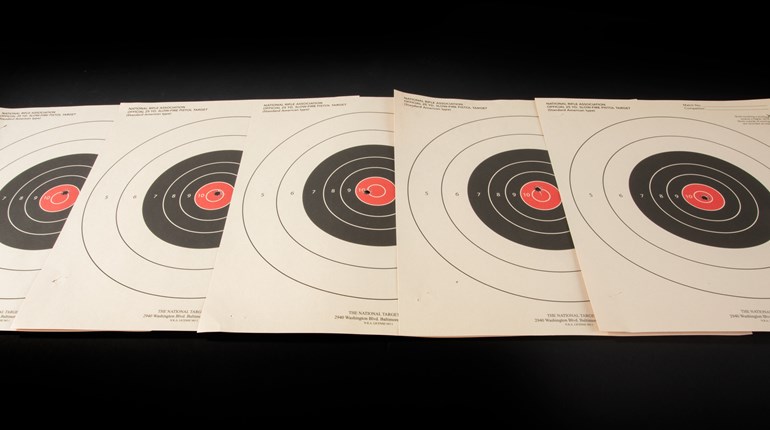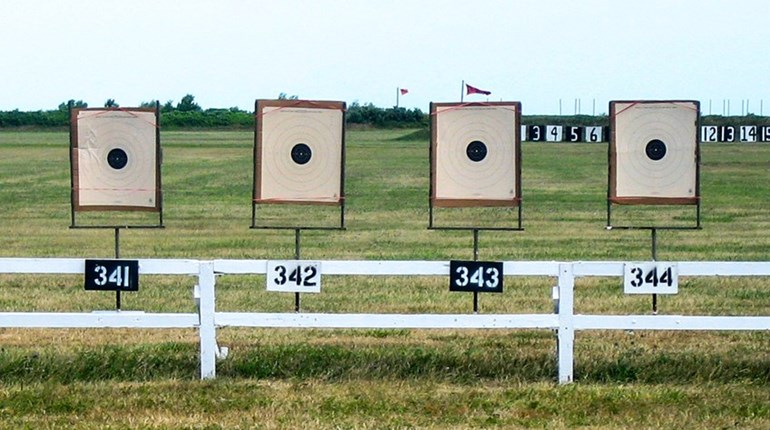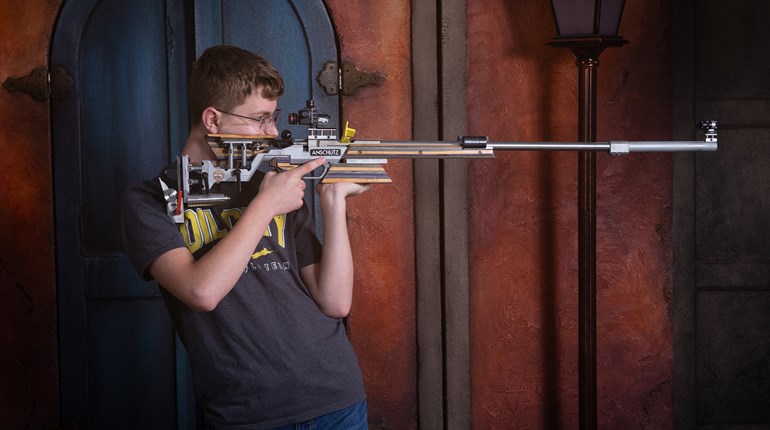
When you're zeroing-in your target rifle using iron sights, the first thing you'll need to do is get yourself to the point where you're shooting good groups (for some background on what that means, click here). Initially, you may notice that your nice, small groups are off-center from the bullseye or target you were using--and you might deduce that you're doing something wrong. You aren't; you're just ready for the next stage of the game, which is called "sight adjustment." It's a little counterintuitive, but it's actually quite simple. Here's what to do to move those groups to the center of the target.
Raising or lowering the rear sight moves the center of a group up or down on the target. Moving the sight left or right moves the group left or right. Most rear sights have knobs to make this movement. The movement is measured in clicks. Each click moves the center of the group a very small distance on the target. The table here can be used as a guide for figuring out sight changes. Later, you will learn the precise change one click of your sight makes. You'll note that we specify the type of target, and it is important. You can print off the various types of standard shooting targets (it's free) by visiting the NSSF's site here.
Approximate number of clicks needed to move group one scoring ring
Rifle Target Clicks Per Ring
.22 Cal. .22 Cal. 50 ft. Int. 2
.22 Cal. 50 ft. Nat. 4
Air Rifle 10m. 4
Air Rifle 25 ft. 6
BB Gun 5m. 10
The adjustment knobs on many target sights are marked to show in which direction the shot group will move when the knob is turned. If the sights on your gun are not marked to show direction of adjustment, you must test your sight and mark the adjustment direction on the windage (left-right) and elevation (high-low) knobs. Do this by looking closely at the rear aperture while you turn the adjustment knob. Mark the elevation knob to show which way to turn it to move the rear aperture up. Mark the windage knob to show which way to turn it to move the rear aperture to the right.
Now it's time to center the group. The rule for sight adjustment is to move your sights in the same direction you want to move your group. If your group is high and to the left, move your rear sight down and to the right. Here are three steps to follow in adjusting your sight:
1. Check the target.
Mark the center of your gruop and draw horizontal (left and right) and vertical (up and down) lines through that point. Count how many scoring ring widths there are left or right to the center of the target.
2. Adjust elevation.
Multiply the number of scoring rings up or down by the number given for your rifle and target in the table for sight changes (above). Turn the elevation knob that number of clicks.
3. Adjust windage.
Multiply the number of scoring ring widths left or right by the number given for your rifle and target in the table for sight changes (above). Turn the windage knob that number of clicks. Be sure to move the windage knob, which moves the rear aperture, in the same direction you want your shot group to move.
After marking a sight adjustment, shoot another group and see if the center of your group is in the center of the target. If not, make more sight adjustments until your groups are centered.


