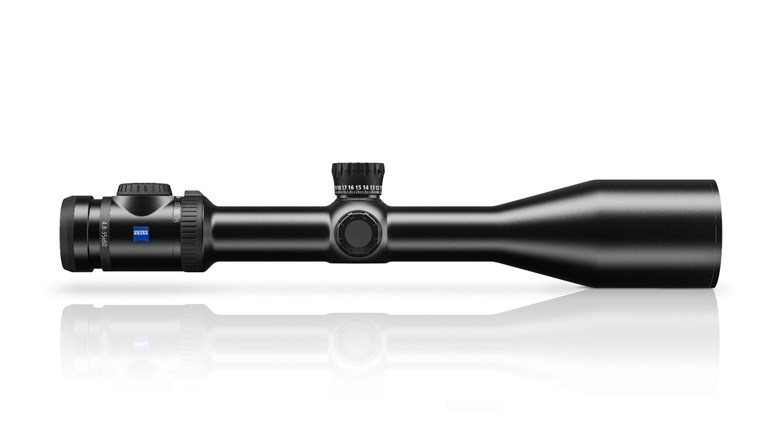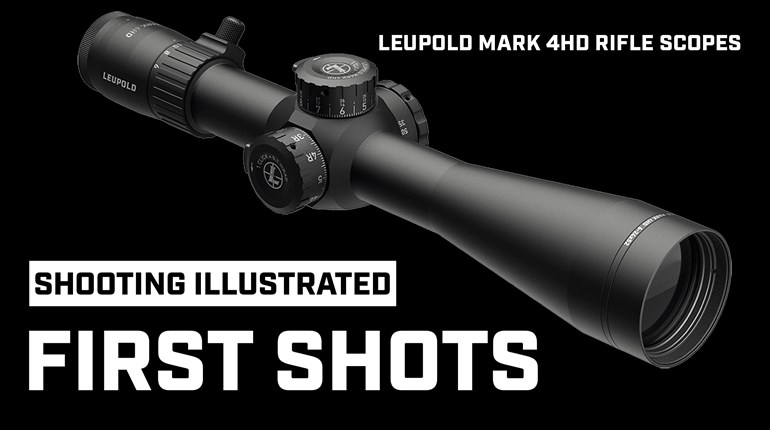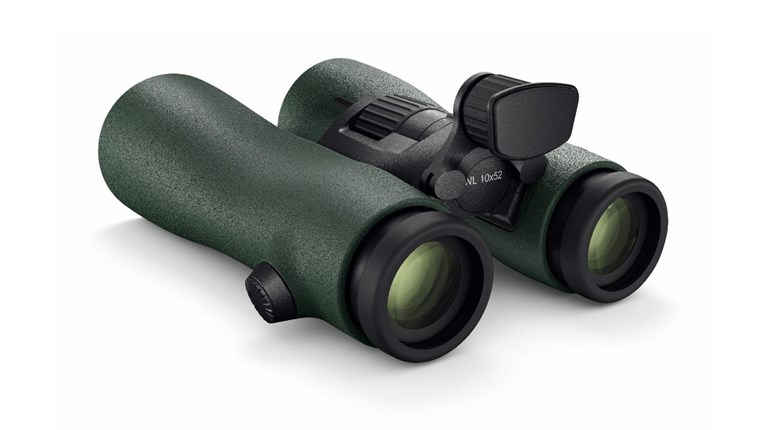
Glasses, binocular, rifle, handgun and spotting scopes, camera lenses and other optics all get dirty, even with careful use. This is from dust, the elements, skin oils and other gunk. How we clean them is critical, so as to not affect image quality. Here are some tips on keeping your optics performing like new.
If possible, do not let dirt get on the lenses in the first place, and be careful who handles your gear and how they handle it. Of course, that’s easier said than done! When possible, wash and dry your hands before touching your optics. Then carry that equipment in a case for added protection. Be careful taking any equipment to the beach due to wind-borne sand and salt water. If you do, take your photos and put your gear immediately back into its protective case.
Eye or Shooting Glasses
Keep them in a closed case when not in use. In a pinch, a drop of mild dishwashing liquid on your fingers, which you then move over the lenses, can work. You can then remove the debris by rinsing them under a stream of warm water. (Never use hot water; it could damage some coatings.) When you do this, do not forget to wash and dry the rims. Also consider an eyeglass retainer lanyard, which allows glasses to hang from your neck. This may be better than putting them down on dirty surfaces.
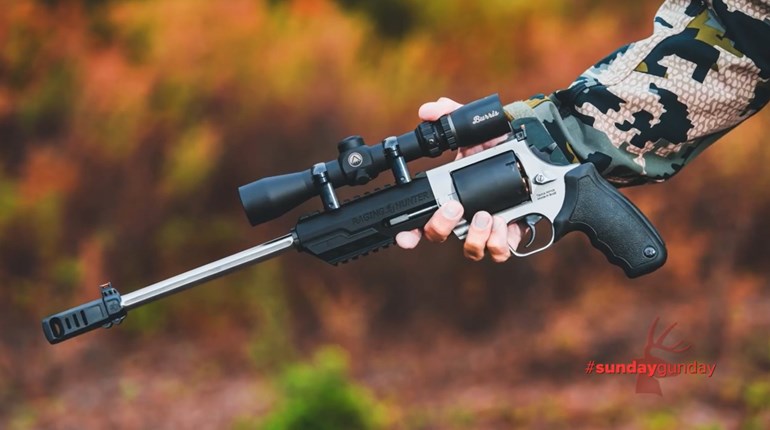
Scopes on Firearms
There are various types of rubber and transparent lens covers to protect the lenses. There are even some high-quality transparent lens covers that you leave on the optic to reduce glare.
Binoculars
These usually come with good lens covers that attach to the unit. Such protective covers should be kept on until the unit is used.
Camera Lenses
To these I usually add a screw-on, high-grade UV filter (which costs a lot less than a new lens), and a lens hood, which reduces glare and adds protection to the lens from snow, rain and dust. I also add a neoprene lens hood cover, which adds a lot of protection, and is also attached to the camera so it can easily be pulled off and simply dropped when getting the camera up for action shots.
Before the Clean
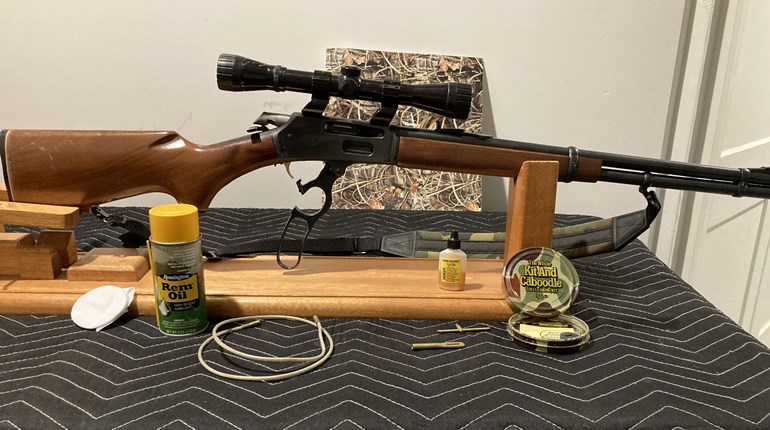
You’ll be tempted to start by blowing on the optic to remove loose dust and dirt. This isn’t a good idea; you can add saliva or simply moisture. In preparing the lens for a good cleaning, I first use a soft lens brush to loosen what can easily be removed. I next use an air pump squeeze dust blower that removes additional loose dirt with dry air, thus allowing it to fly away.
Moist Lens Wipes
Although most quality lenses have coatings that eliminate glare and help prevent scratches, improper cleaning simply grinds whatever was on the lens into the lens, causing permanent damage. (This is why we start with dusting!) With that completed, now is when a lens wipe, which are usually anti-fogging and static (this also helps to repel dust), or a lens cleaner is used.
Since fingerprints and oily films are common on a lens after a day’s use, it is now removal time with these wipes. Birchwood Casey and Zeiss both make lens wipes that are suitable for use on glass and plastic surfaces.
Since optics today are usually coated, use only wipes that are recommended for such surfaces. With solutions, always use the minimum recommended and never spray a cleaner directly on a lens. If you do, what happens is that the excess runs to the metal where the glass inserts and that is not good.
Drying
It is recommended that you use a cloth that is specific for the cleaning of high-grade lenses, such as a microfiber lens cloth or a specific lens cleaning tissue. A good idea is to carry these in a plastic bag that can be closed so to prevent dust and dirt from getting on them. I also carry a few cotton swabs in my first-aid kit since they are effective when cleaning the edges and hard-to-get-to places on a lens.
Final Tips
Do not become obsessed with cleaning your optics. With many modern coatings, rubbing them with cleaners is not necessary when simply blowing or brushing off some dust will do what is needed. Overcleaning could remove coatings, and that could affect image quality.


