Drawing your firearm in a self-defense situation is a complex motor skill without adding the hormonal cocktail served by a bartender named Fear. That's why it's critical that you both understand and practice the mechanical action of safely drawing your firearm. These start with the seven steps presented in the NRA Guide To The Basics of Personal Protection Outside The Home, but with some variations that may apply to people using a wheelchair. The seven original steps are access, grip, pull, rotate, join, extend and fire. The variations are engaging at least one brake prior to accessing your firearm, bracing the upper body at some point during the draw stroke and the likelihood of using a single-handed grip.
1. Set Brakes
Depending upon the circumstances and terrain of the encounter, you may have the need or opportunity to set at least one of the brakes on your chair. It would be tragic to successfully defend yourself from a criminal attack only to be injured by rolling backwards into traffic. Since at least one of your hands will be engaged in drawing your pistol, you will have only one hand to activate your brakes. There is a device available through Hands On Concepts, Inc at http://teamhoc.com/ called D’s Locks, which locks both wheels at the hubs with a single lever. At other times, mobility is the greater priority. You may need to evade an attacker or move to cover/concealment, so setting the brakes would be detrimental. It is only through training for both conditions that an individual can hope to be prepared if they are ever called upon to act in such a dire situation.
2. Brace the Upper Body
This step may fall at different points along the sequence of drawing or be completely unnecessary, depending upon an individual’s abilities. Those with diminished trunk control may need to brace at least one hand on their thigh or chair immediately upon engaging the brakes, while others with more stability can omit the step entirely. The only way to know is to train as realistically as possible.
3. Access the Firearm
Accessing the firearm is possibly the most crucial element of the draw and certainly the most variable. The strong side hip holster at either the three to five o’clock, or the seven to nine o’clock positions, is the most popular option. (This is not to imply that other locations are inferior—but the popularity of this choice of carry position is based on a solid foundation of performance.) The strong side hip/belt line is easily accessible to the dominant hand due to its proximity to the natural resting position of the arm and an efficient draw stroke.
Trunk control needs to be taken into consideration again at this time. Both hands are employed during this action with one—typically the non-dominant side—called upon to move the cover garment or gain entry to the concealment device, and the other—typically the dominant or firing hand—needed to grip the firearm. If one arm is required to apply a stabilizing brace for the trunk, it will be unavailable for the other tasks at hand. This isn’t an insurmountable issue; single-handed presentation of a firearm from concealment is a common part of many concealed carry courses.
4. Grip the Firearm
You must consistently achieve a firm grip high on the pistol stock from the outset. If your grip is sloppy to start with, you may not get a chance to improve your position during an encounter. Of course, it should go without saying that due to the nature of the attack you may never get the chance for the perfect grip—that should be something addressed in your practice and visualization training.
5. Pulling the Gun from the Holster
Once you have established a proper grip you will need to pull the firearm free of the holster or concealment device while keeping the trigger finger indexed along the frame and out of the trigger guard. Two other considerations during this phase are overcoming the retention mechanism of your holster and bracing your trunk to prevent falling. As mentioned earlier, trunk bracing may enter anyplace throughout the cycle…or not at all.
6. Rotate the Gun Toward the Target
There are essentially two phases to this action and each is defined by the relationship of the muzzle of the gun to the target or attacker. Phase one is any time before the muzzle is pointed at the attacker, and phase two starts when the muzzle has leveled on its mark. Clearly the objective is to get the firearm directed at the threat as quickly as possible—without ever pointing the gun at yourself, bystanders or any other direction considered unsafe. It can be difficult to perform this critical action from a seated position. The strong-side hip or wheelchair mount earns its credibility here. With practice, it is the position most likely to allow the presentation of a firearm without breaking any of those strict guidelines. Other locations of concealment (shoulder holster) and devices (fanny pack, purse) fail miserably at this task. Ultimately you may need to try as many concealment configurations as possible, and pick the one that most consistently adheres to the safety guidelines presented here.
A tip when practicing a draw is to use a mirror or a trusted friend to evaluate your muzzle control. This is, of course, a time when a blue gun or training pistol comes in handy. How you pass through this first phase should be considered in detail. It isn’t simply lifting the pistol and sweeping it up toward the target. The elbow will have traveled up and behind your body to clear the holster, so it is best to think of this motion as dropping your elbow behind the gun.
Let’s assume that you’ve made it through the fraction-of-a-second phase one and have your muzzle directed at the target. The firearm should be positioned at approximately chest height and directly in front of your flexed elbow. If you were to pause in this position for a moment, you would be in what is often referred to as the Retention Ready Position. This position is one in which the proximity of the firearm to the body acts to minimize the risk of it being grabbed by an adversary, while also being the earliest point during the draw stroke where firing the gun may occur if the situation dictates.
It is now that you may deactivate the safety, if your firearm is equipped with one, and the trigger finger can move from the index position to the trigger.
7. Extend the Gun Toward the Target
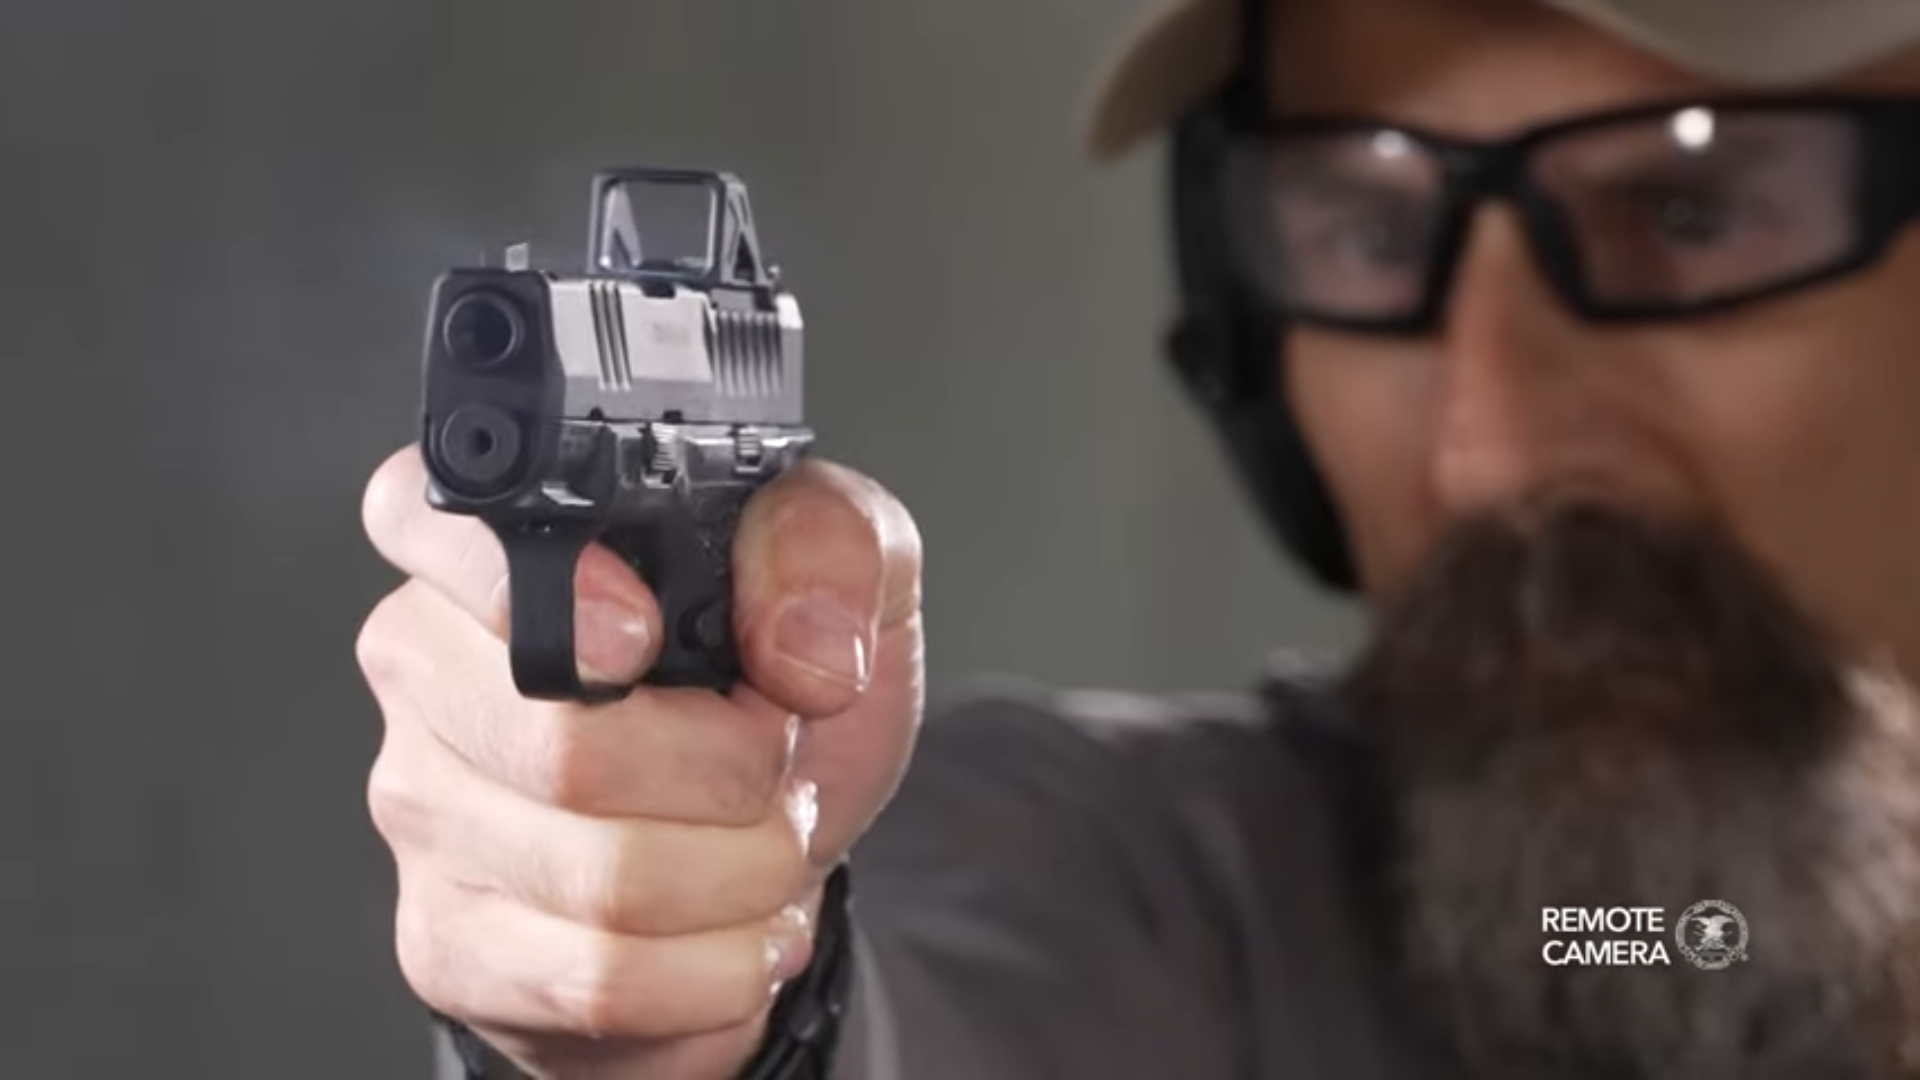
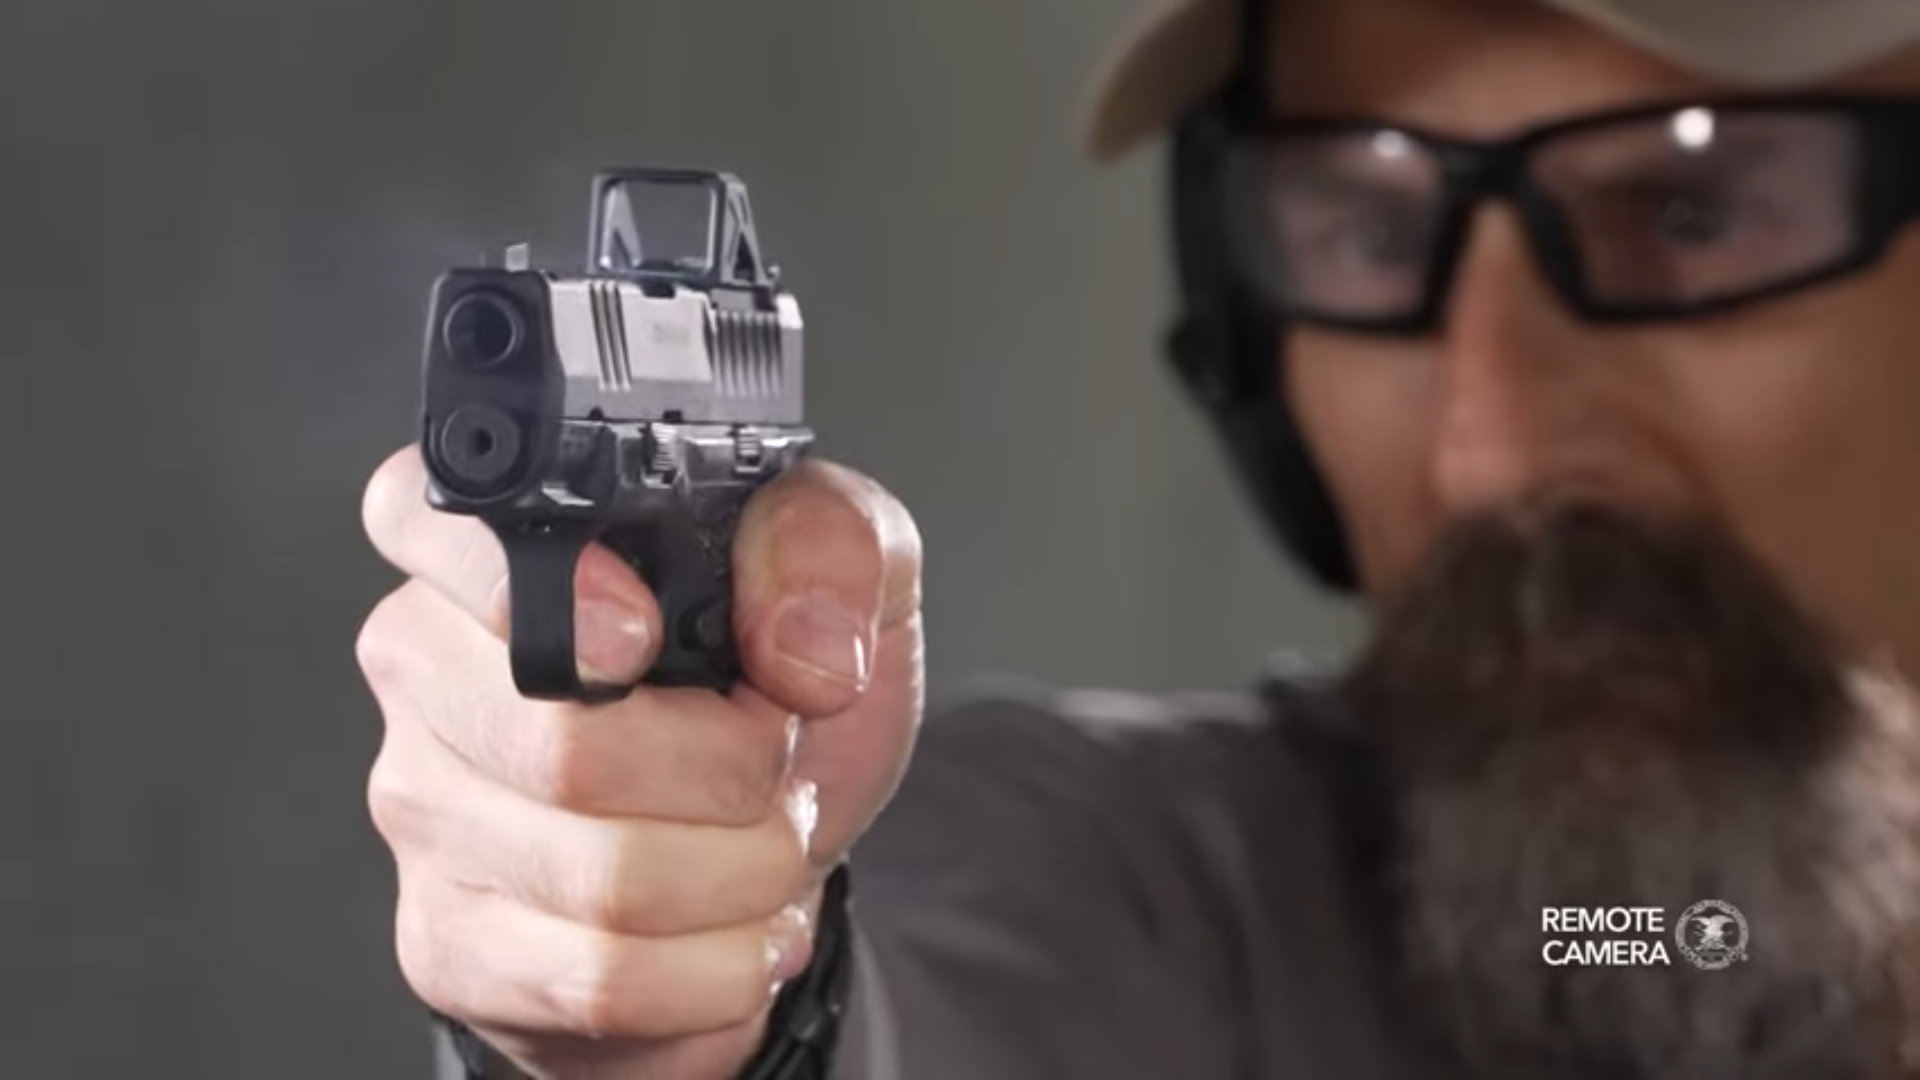
During this step, regardless of the grip being used, the firearm is lifted and extended, bringing the muzzle closer to the target. The pistol should not travel an arc from the holster to the fully extended position. Using a two or a one hand presentation, the firearm should be pressed smoothly out from the retention ready position near the midline of the body. If a one-handed presentation is desired or required, a slight cant, or rotation, of the pistol toward the midline of the body should be incorporated as the pistol drives further away from the shoulder. This can be considered a “natural punch” motion, as it is mechanically similar to throwing a strong, straight punch. It engages the larger muscles of the shoulder girdle, allowing them to act in their strongest ranges and brings the skeletal structures into their most stable alignment. The cant technique has been grossly overrepresented in movies and TV with the now famous (or infamous) tendency to roll the pistol onto its side. That would only serve to disrupt sight alignment and diminish control of muzzle flip. Train with this method to find just enough cant to increase stability when firing first shots, as well as strings of three or four rounds. It is during this phase that the earliest aimed fire can commence. Fully extending one or both arms may not be an option for any number of reasons, so practice acquiring the sights as soon as possible while pressing the gun out and putting some accurate rounds on target.
8. Fire the Gun, If Necessary, Then Observe
First you must be sure that the threat has ended by lowering the gun below eye level and scanning your immediate area. Use all of your senses and be sure to truly see what you are looking at. If you have ever glanced at your watch but were immediately unable to tell someone what time it is, you know what I mean. During your scan you may keep your firearm trained on the original attacker, but be prepared to address any new threats that may present themselves.
9. Returning Your Firearm to the Holster
Whether or not shots were fired, you will need to re-holster your firearm in a safe and controlled manner. It is basically an exercise in reversing the steps taken when drawing the firearm, but do so with caution.


