Mounting your own turkey fan is a fun and easy way to preserve memories of a successful hunt and decorate your home or cabin! While the task may seem daunting at first, the process is very simple and can be done by hunters young and young at heart with ease.
Gather Your Materials
First things first … fill your turkey tag! Once you have a tom on the ground, decide if you would like to mount just the fan, or if you would also like to include its beard and spurs. Once you’ve made that decision, it is time to gather your supplies. Note that this is but one of many ways to preserve your fan. Common supplies that you’re going to want to have on hand are the turkey fan (beard and spurs optional), sharp knives and scissors, salt (or borax), a backing material in which the fan will "cure" such as plywood or an old cardboard box, push pins and the final mounting plaque.
Prepare the Fan
Start by carefully removing the fan from the turkey. Using a sharp knife or poultry shears, you will want to cut along the base of the fan where it meets the turkey’s body. Be sure to remove any excess flesh or fat from the base of the feathers to prevent decay, but proceed with caution as you don’t want to cut too far away from the body—which would result in a literal pile of feathers. When in doubt, leave a little extra meat on that initial cut, as you can always cut away more once it is detached in one solid piece from the main body of the turkey itself.
Shape the Fan
Now comes the fun part, and what you do during this step will determine the final look of the fan once the curing process is complete. Once you’ve cut away any excess meat from the base of the fan, gently shape it into the desired position atop your backing material of choice. While you can use something such as plywood, my preferred curing surface is a simple cardboard box. My reasoning? It can be tossed in the burn pile once I’m all finished.
The fan will naturally want to close in on itself, a problem easily solved by a few carefully placed push pins. Once you have pinned your fan into your preferred shape, be sure to step back and take a good look. After the tail has cured, the shape and orientation of the feathers cannot be easily adjusted.
Preserve the Fan
After the fan has been pinned to the backing material, it is now time to preserve it for years to come. Sprinkle a generous amount of borax or salt onto the base of the feathers. Make sure to cover both the front and back of the fan thoroughly, as this will help draw out moisture and prevent bacterial growth.
Find a safe spot to set the fan aside, paying special attention that it is out of reach of any household pets who may get curious as to why there are feathers nearby. The curing process can take up to three weeks, so patience is key. Check in throughout this period, adding additional salt if necessary.
Attach the Fan to the Plaque Mount
Depending on the mount you choose, the way in which the fan attaches could be slightly different. A common mounting method amongst most mounts involves the fan being pressed in between two pieces, with optional cut-outs for beards and spurs depending on your mount and the manufacturer who produced it.
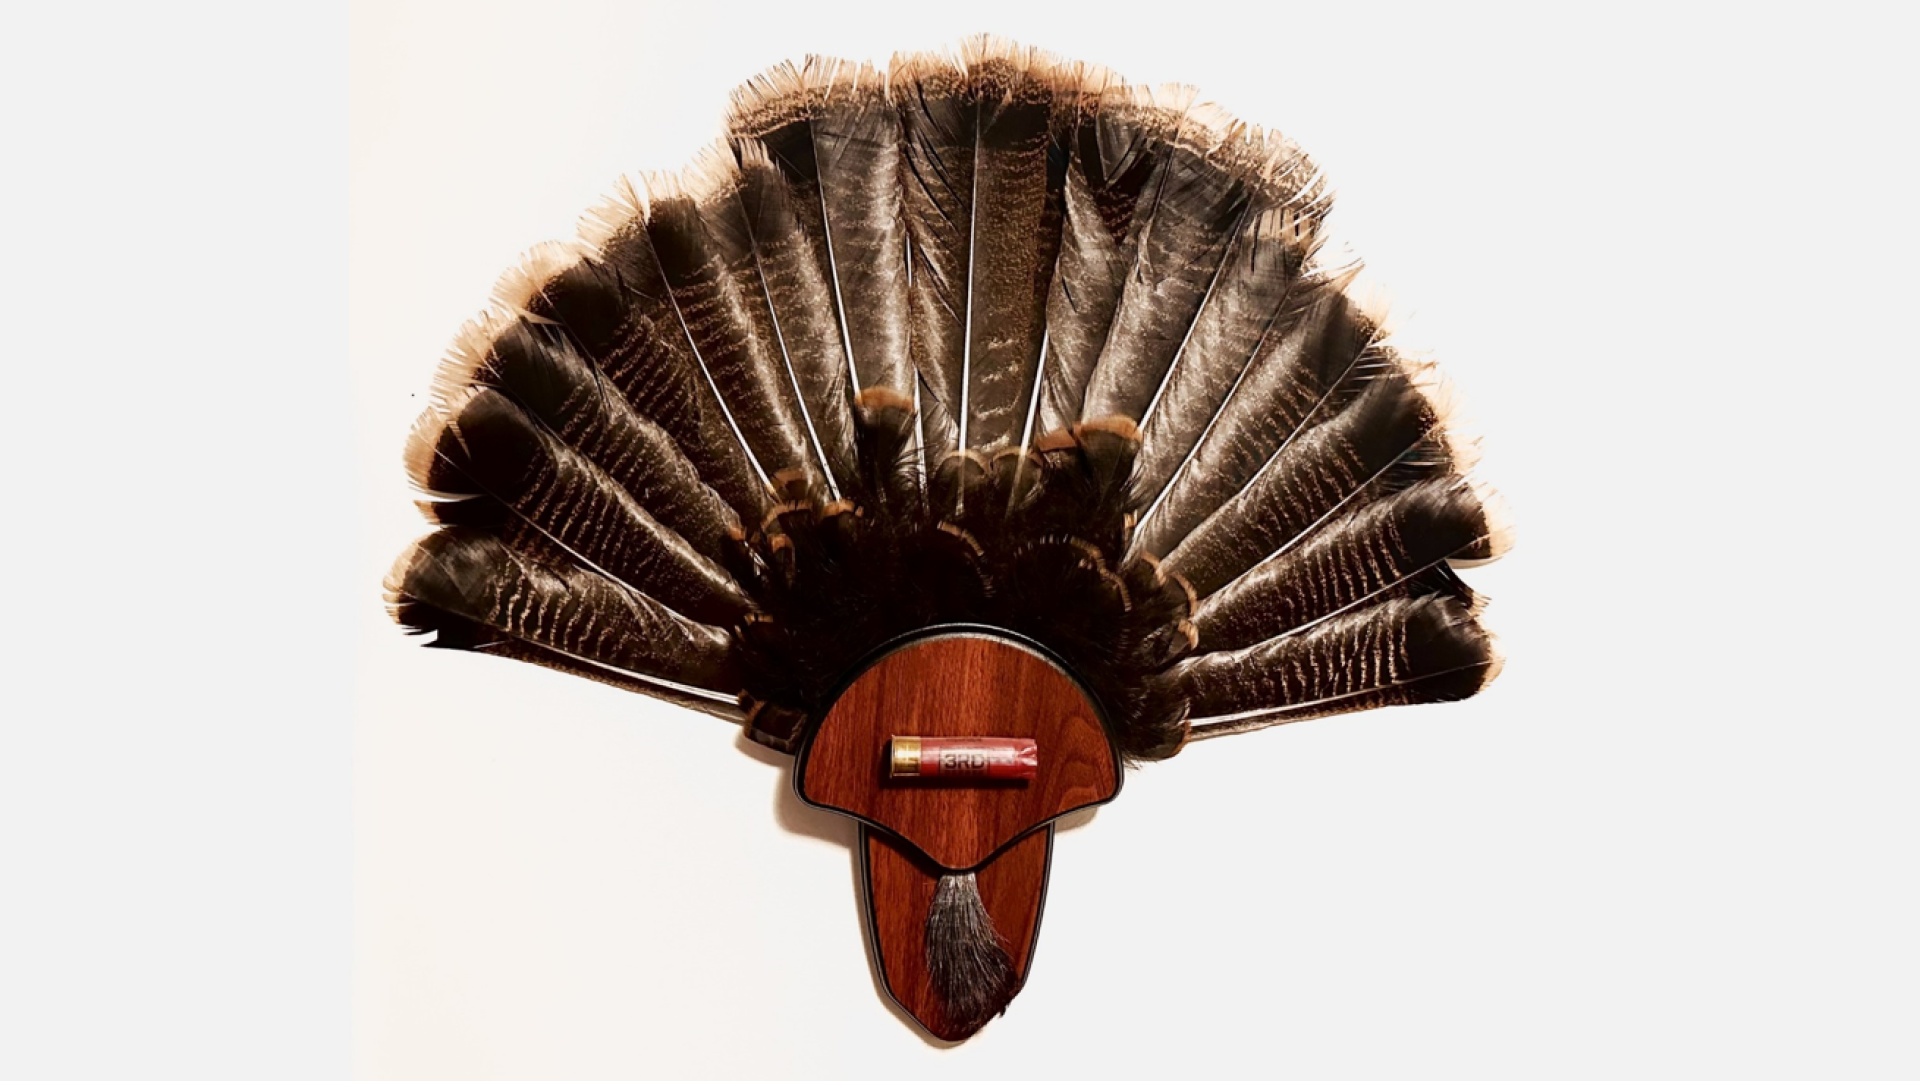
Take care to align everything to your liking, and feel free to add any special accessories that remind you of the hunt, such as a photo of you and your hunting buddy, or even the shotgun shell responsible for filling your turkey tag! Now all is complete, and you are ready to display your mount. Be careful when hanging your mount as feathers are quite delicate. If at all possible, display your newly mounted fan in a dry space away from moisture and humidity.


