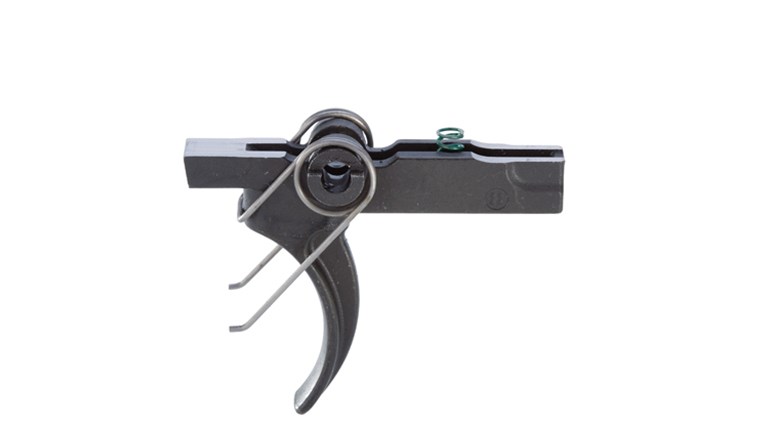
I have witnessed even accomplished AR shooters get confused on reassembly of the traditional AR trigger. So I thought I would share a charming mnemonic device I picked up while taking the Smith & Wesson M&P 15 rifle and carbine Armorer course. It is so memorable, you will never install the trigger incorrectly again.
But first, a quick caveat. There are countless videos on the web for disassembly and reassembly of AR triggers, so I won’t belabor the multi-step method here. If that is what you are looking for, my personal favorite is delivered by Brownells, check it out here..
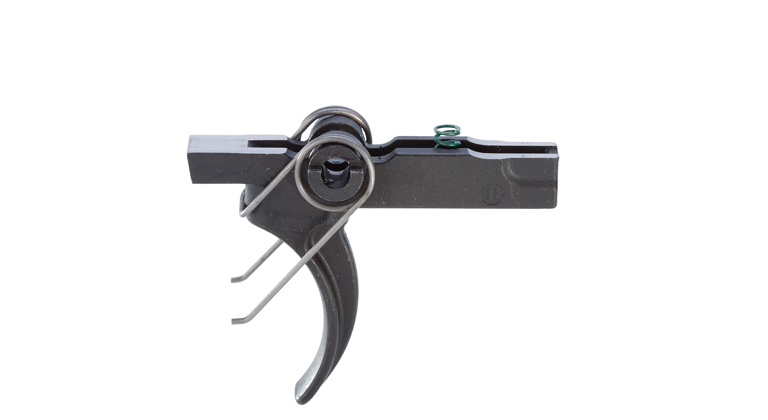
The trigger, when positioned correctly, looks like an elephant. The trigger face is his trunk, and the spring legs are his tusks. The trigger pin would run through his ears. The elephant faces front; that is, the front of the receiver. The elephant dons a hat, or the spring and disconnector. 
The hammer assembly is the one you’re most likely to install incorrectly, since the spring rotates almost 360 degrees. When positioned correctly, the hammer assembly looks like a grasshopper. Imagine the spring legs are his antennae, the hammer represents the grasshopper’s legs, and the place for the hammer pin could be his big googly eyes. The grasshopper faces rearward to serve as the elephant’s lookout. The antennae sit on top of the trigger pin, and the hammer is then pushed down and forward. 
It may seem silly, but I bet you will never forget the illustrations here and will always remember the correct orientation for the trigger group of an AR.


