Years ago, I took my deer to the local butcher to be processed. When I paid the butcher's bill, I realized that my goal of saving my family money was not being fully realized. As I stood there watching them process my deer, I realized I could do the job if I tried. My family now processes all the game meat we harvest, and we even help process family and friends’ game as well.
Here are some tips we have learned over the many years of processing our own deer into delicious, healthful meals.
Field care
The most important thing any hunter can do to retain quality taste in their game meat is take good care of it in the field. A carcass with organs left in it and left sitting in the sun will quickly become rancid and foul tasting, if not inedible. Open up your deer, remove the entrails, prop the cavity open with a stick and/or, if possible, put a bag or two of ice in the cavity if the weather is warm.
Hanging and aging
My family prefers to hang our deer in our garage or shed for several days if the temperature in that location won’t get above 42 degrees. After consulting with several processors, we learned that you never want your meat to be subjected to sunlight and wide-ranging temperatures. For instance, don’t cool the meat to 35 degrees and let it increase to 45 degrees. That promotes excessive bacteria growth and can lead to tainted meat.
How long you age your deer depends on the conditions. The more consistent the temperature the better. For example, if you can hang your deer in a secure location such as a walk-in cooler or cool box that will stay in the mid-thirties for a week, that is an excellent thing to do. The meat will be more tender. However, if your setup does not offer consistency in temperature, reduce the hang time and process meat before temperature swings occur.
Before hanging, be sure to remove all entrails and cut away any badly shot up meat. I leave the hide on my deer when hanging, but some people remove it.
Another way to age meat is to quarter it and put it in an extra refrigerator. I keep an old refrigerator in my garage and during warm archery season nights, my meat goes into that fridge in quarters so it can be hung from the racks inside that I created. A drip tray sits at the bottom to catch any liquids. In a pinch, a cooler can also serve as a place to temporarily age the meat. Drain the water out regularly so the meat is not submerged in blood and other fluids.
Major cuts
The first thing I always do is remove the backstrap and tenderloins. The backstraps are located on either side of the spine and are easily removed with a long, flexible knife such as a filet knife. I begin next to the hindquarters by making a cut right where the rear quarter starts. My cut is perpendicular to the spine and down to the ribs. Next, I begin fileting the strap away from the spine.
Working with just the tip of the knife, I bump the vertebrae along the backbone as I go towards the front shoulders. I stop from time to time to work from the rib side underneath, keeping my knife as close to the ribs as possible. Once some of the strap is free, I work my fingers under it and pull it up so I can more easily use my knife and see what I am doing. Continue cutting all the way to the neck. Repeat on the other side.
Look in the cavity and do the same thing with the tenderloin meat. First cut along the spine and then, using the tip of the blade, trim along the outer edges until you can pull upwards and sneak the knife under the meat and finish trimming it out. Remove any fat or sinew.
Next, cut the legs off and set them on a large, clean cutting board or stainless-steel table. A big table with a large piece of plastic will work in a pinch. Avoid placing meat on treated wood!
The front legs will come cleanly off when slicing parallel with the carcass along the forward part of the ribs. The hindquarters take a bit more work. Using the tip of your knife, trim along the pelvis bone from both sides and down to the ball and socket hip joint. Cut the tendons holding that meat to the bone and then peel it away. Take your time! It takes some practice but any meat you miss or cut slightly “off” gets trimmed and added to the “grind” pile.
Small cuts
The front shoulders are best used for burger. So, my family will cut all the meat off the bone, trim away silver skin or ligaments and tendons, and then cut it into pieces 1-2" in size and put in a grind pile. The bones get used for stock or we will give them to the dogs. It does not matter how you cut the meat off the bones, but trim as close to the bone as possible.
The hindquarters have several roasts (muscle groups) in them. The major ones include the Sirloin tip, bottom round, top round, eye of round, tri tip, Sirloin butt and shank roasts. There are multiple websites that can show you pictures of these.
The key to cutting up the hindquarter is to take your time and pay attention to where the muscle lines are. Use your fingers to find these separation points. Separate the muscles with the tip of your knife (notice a trend here with knife usage?) and keep your knife sharp. Stop to resharpen when necessary. When you get near a bone, trim the muscle off the bone and remove the muscle groups one by one. Any meat that is not cut off to your satisfaction can be added to the grind pile. Everyone likes venison burger and sausage, so you will want plenty to grind anyway.
Roasts can be sliced into steaks, particularly the top round roast. Shanks are best slow cooked. Sirloin tip roasts are great for slow cookers as well. Any of these roasts can be ground up for burger or sausage as you see fit.
When you're done, there are ribs and neck meat to trim off and add to the grind pile. There is a lot of meat on a rutting buck's neck, so take your time to trim off as much as you can!
When cutting meat, trim off any tendons, ligaments, glands or fat. These things reduce the quality of your finished product. Glands are easy to see and are located between muscle groups and on the neck. Avoid cutting through those! Remove carefully.
Grinding
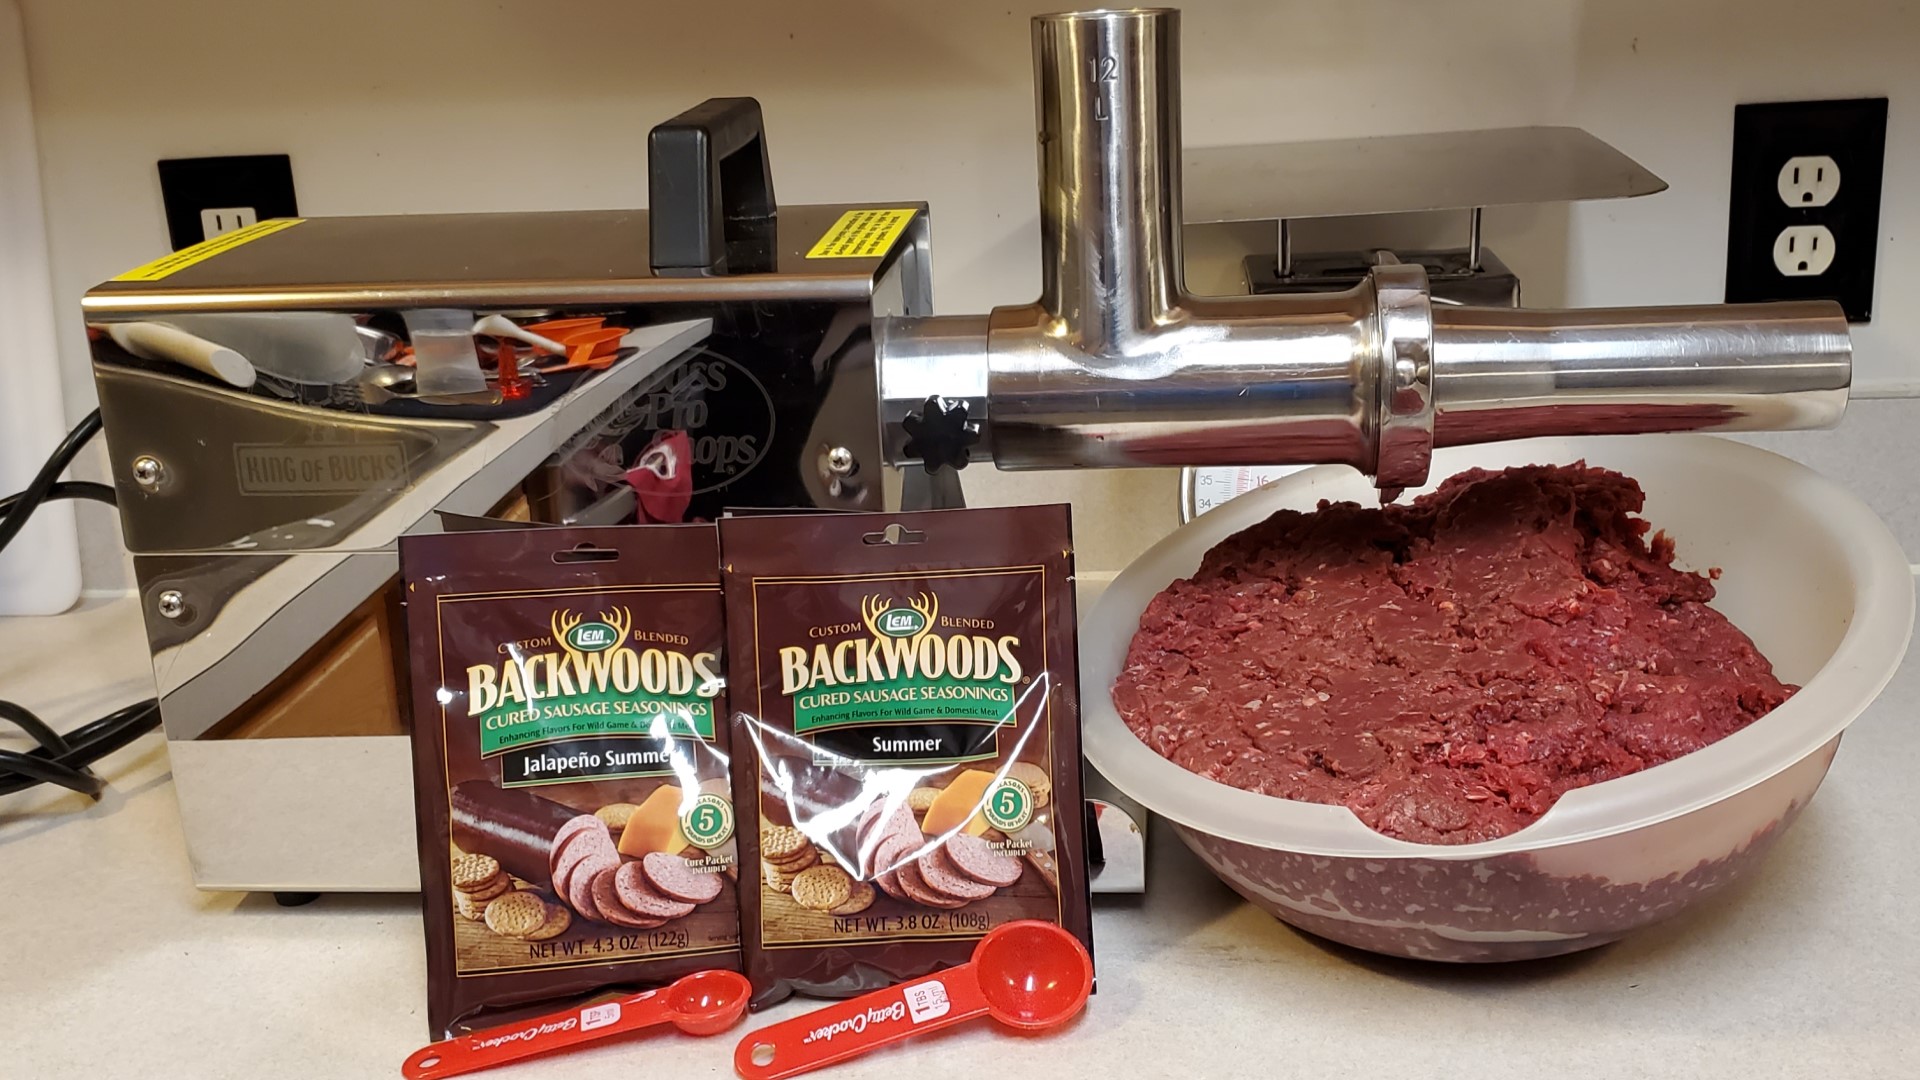
I use a LEM grinder, but there are some other good grinders out there. I have a buddy that has a high-quality food processor, and he grinds his one or two deer a year with that and is totally satisfied. I like to make two passes with my grinder for a fine grind. Some people prefer a course grind for chili meat or sausage. That is a personal preference.
Hi Mountain makes some wonderful seasonings to further enhance your venison. I use their products, such as the Prairie Sage sausage seasoning, all the time.
Vacuum seal your finished product if you can, or wrap it with freezer paper tightly and label it with the time, date and where you harvested the deer. Store the newest meat at the bottom of your freezer and the oldest gets rotated to the top.
This season, don’t be afraid to process your own deer. You only need, time, a sharp knife and a willingness to try. You will get a feeling of self-satisfaction in doing so.


