Game cameras are wonderful tools and the images or video collected can be amazing … or it can be a kaleidoscopic collection of waving branches, bright lights and blurry movement. Here are some tips to get the most out of your game camera.
1. Watch angle and direction
Bright sunlight can mess with cameras. Angle and direction are very important to reducing game-camera “false triggers.” I have found that the more often I can point my camera in a northerly direction away from the sun, the fewer false triggers of the camera I experience.
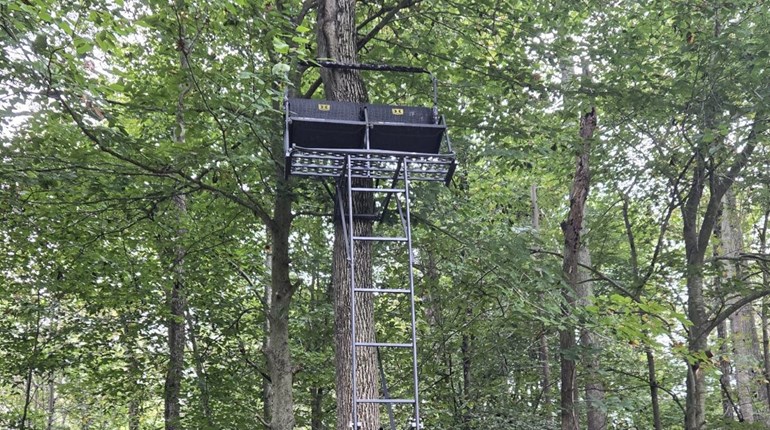
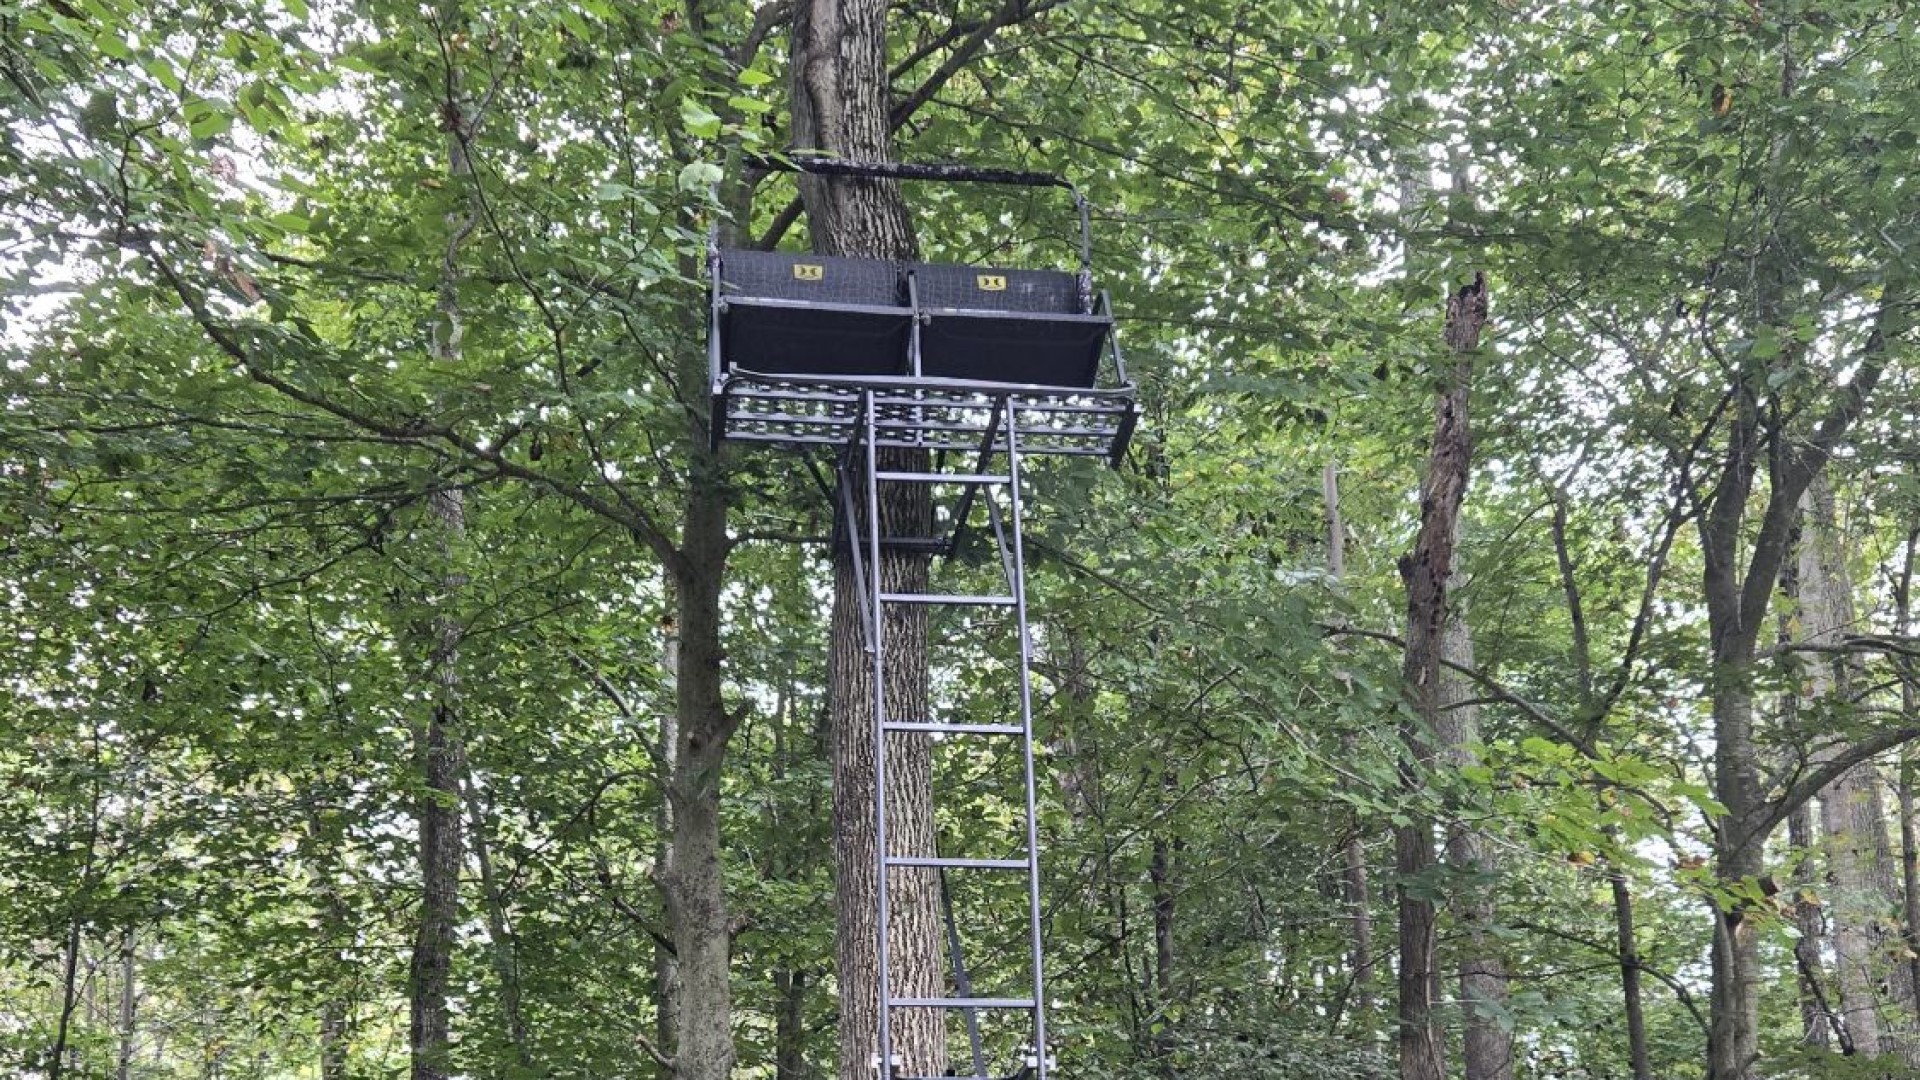
Angles also play an important part in getting great photos or video. If I am simply making a count of animals, or perhaps I am trying to catch a trespasser, I might put the camera way up in a tree and point it downward out of the line of sight of animals (and of other humans in the area), where it is less likely to get messed with. The downside to this is that sometimes footage will not show the detail (trespasser’s facial features or buck’s antlers or size) as well as a camera mounted at eye level to the animal.
Determine what is more important to you and put your camera where you need it most. If you run the risk of a person taking or vandalizing the camera, consider mounting it up higher and hiding it best you can where it cannot be reached easily. This will be a pain to place, recover or check, but it will be worth it if you can pass along the footage to a conservation officer or local deputy to catch the trespasser.
If your usage is on public land, you might also consider this method … or you might upgrade to a cellular camera so you can see the images before the camera is taken or vandalized. Cellular cameras make it so you don’t have to go into the area where you’ve mounted it as often, so you’ll spook animals less.
Another option that gives interesting video and photos is from the ground level, pointed upwards. Sometimes there are no suitable trees to hang a camera on, and you may not be comfortable placing a camera in the wide open on a stake. I have put my cameras at the bases of bushes, even in bushes, and hidden them with leaves or grass before. This works great for open areas, arid areas and areas where you really have to hide the camera. I had a trespasser sneaking into a pond to fish and also hunt. They were wise enough to look around and avoid cameras in the trees, but I finally busted them with one hidden on the ground.
2. Mitigate false triggers from other sources
Squirrels, wind and flocks of migrating blackbirds have burned up many batteries for me over the years. I finally started reducing these events by moving the camera so it was not on the squirrel highway (read: the log they all used to go from A to B that was in the background of my videos and photos). I also clipped all the branches that were around and in the field of view of my cameras, so the wind whipping them around did not set them off either.
The flocks of migrating blackbirds was a tough one, as they are hard to predict. However, when I observed these birds in the area, I moved my camera to areas they were less inclined to frequent. The migration never lasts long, so sometimes I just shut the camera off for a few days (or simply accept that I was going to have a lot of bird photos).
3. Understand funnels vs. crossings
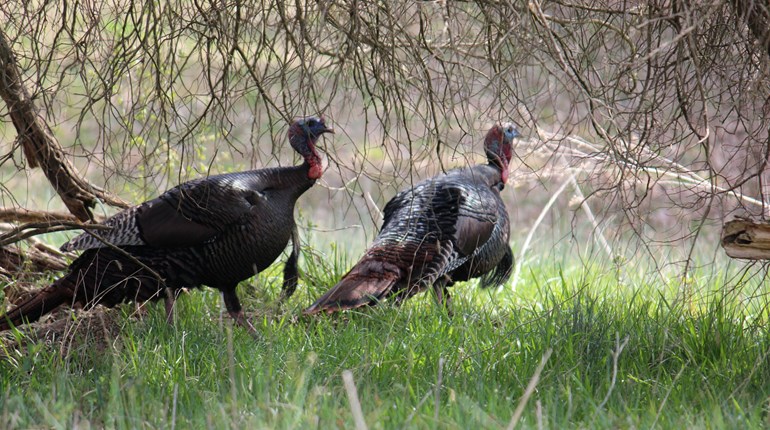
I love to place my camera in a “funneled” area. Funnels are places the animal is sort of forced to go, like a narrow spot in the trail with dense undergrowth on each side. Animals that are not pressured will take the path of least resistance. Finding such a place that allows me to face the camera north into it is great. I always get quality video and photo footage. The camera has plenty of time to sense the animal and get photos or video, often more than one, before the animal passes.
Crossings are tougher, as the animal may be moving quickly and the camera has to sense and trigger in a short amount of time. Most modern game cameras are capable of this, though, and animal crossings are great locations to place cameras. Just be sure to remove any brush that limits the detection cone, though. Remember: Face the camera north as much as possible.
The plus to placing a camera on a crossing is that video and photo footage will give hunters a great vantage point to see the entire animal broadside. This gives you a better visual and you are better able to judge its age and the quality of the animal for your hunting purposes.