Quick, take a look down. Are both of your hands completely free? It isn't very likely, particularly if you are reading this piece on a tablet or smartphone. If you think about it, we spend most of the day with something in at least one of our hands. Now, think about your last pistol training experience. I bet you shot with both hands for the duration, didn't you? Don't feel bad; that's precisely how most of us practice, and for good reason. Having both hands on the gun doubles your control and cuts felt recoil in half, so it's certainly the preferred method whenever possible. However, when life comes calling, we must be prepared to get the job done one-handed. Here are some pointers to help foster proficiency as well as a few simple, practical drills to stay fresh.
So before we start, I'm sure you have some questions like "What scenarios should I practice for?", and "Which hand should I start with?” Asking questions like these is entirely fair, as having a reason and an outline helps us get our gear packed and push ourselves outside our comfort zone. As previously mentioned, you will likely have an arm occupied, and the most apparent solution is just to drop what you're holding.
However, if what you are holding is a tiny human being, that is no longer an option. The same holds true for the cell phone, believe it or not. Tossing your device also means throwing away the ability to dial 911, and you'll need that. Of course, all of this implies that one hand isn't already injured or under the control of an assailant, which is another highly possible scenario.
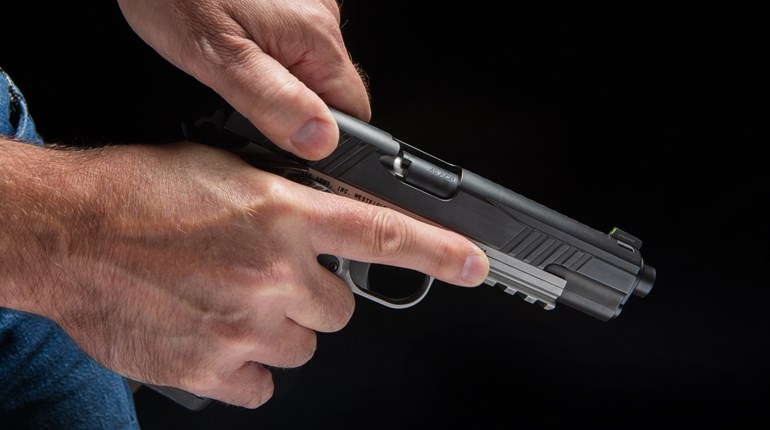
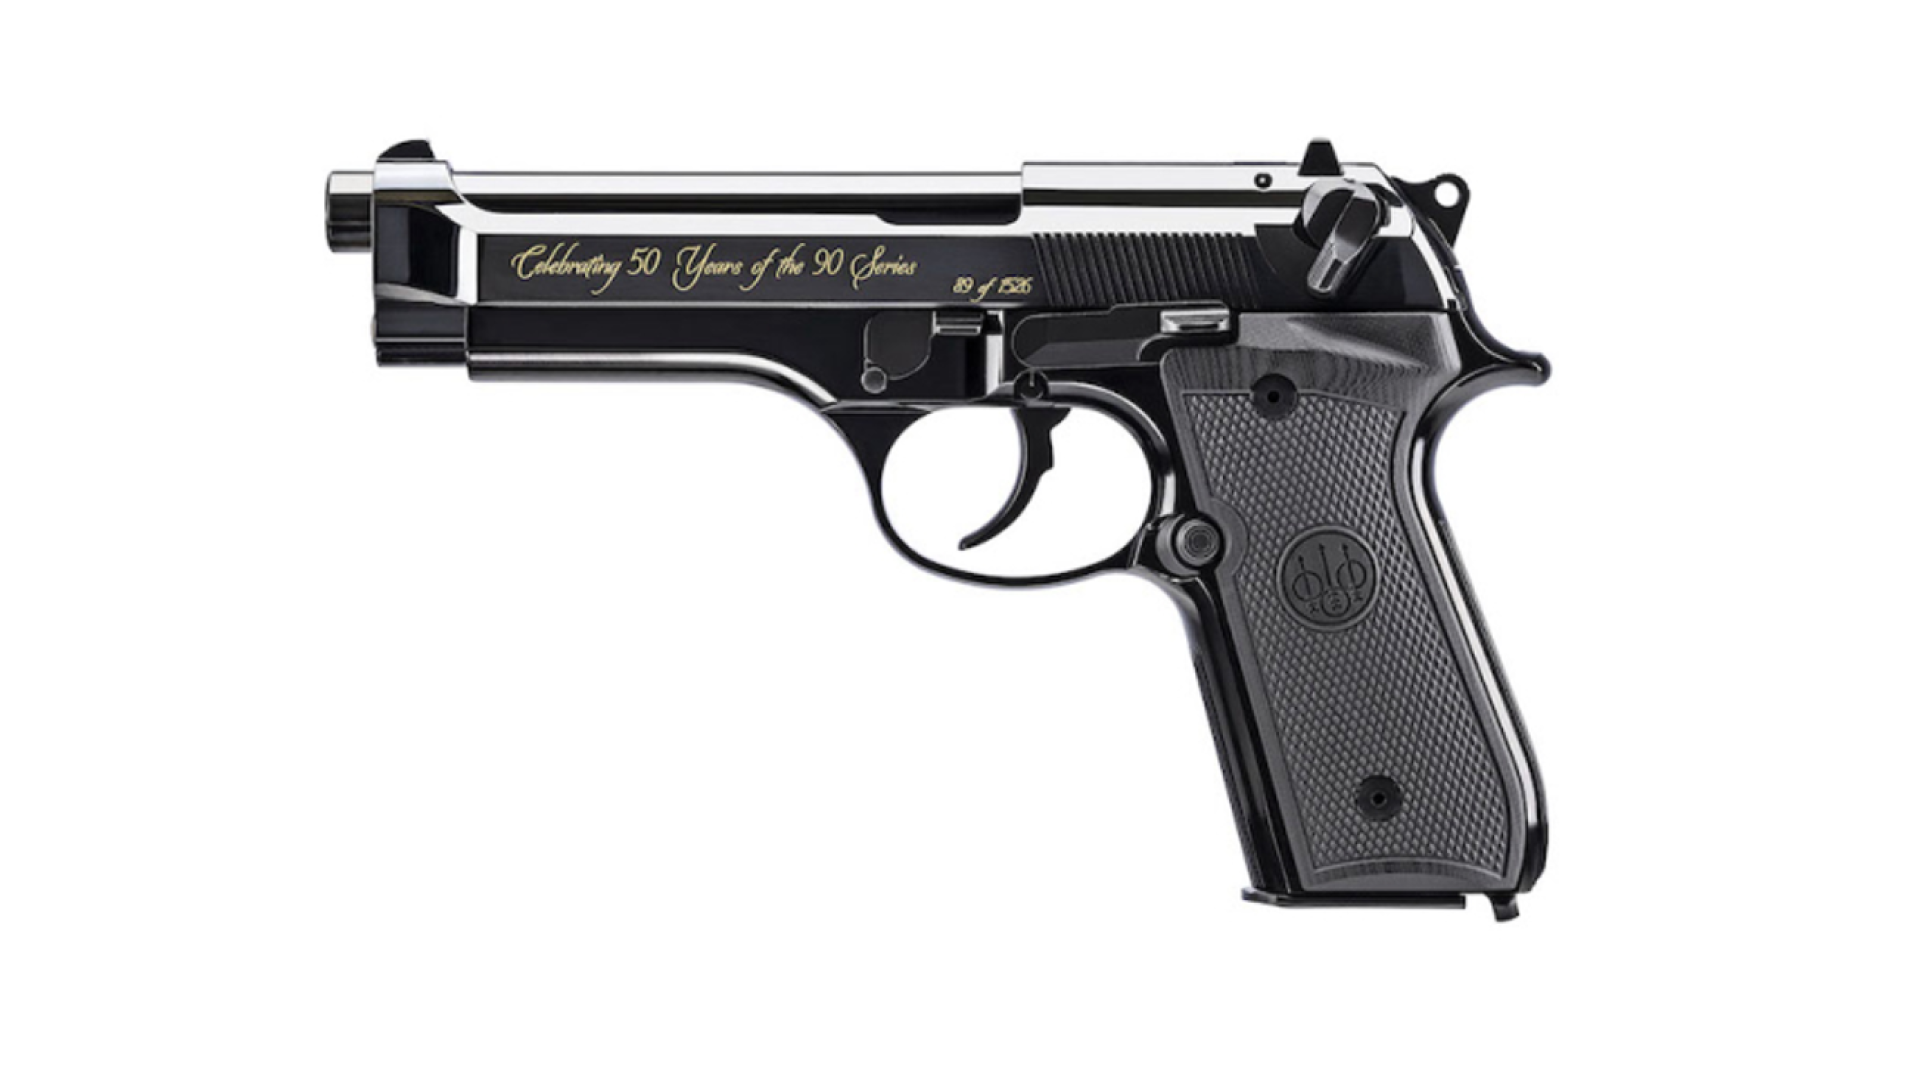
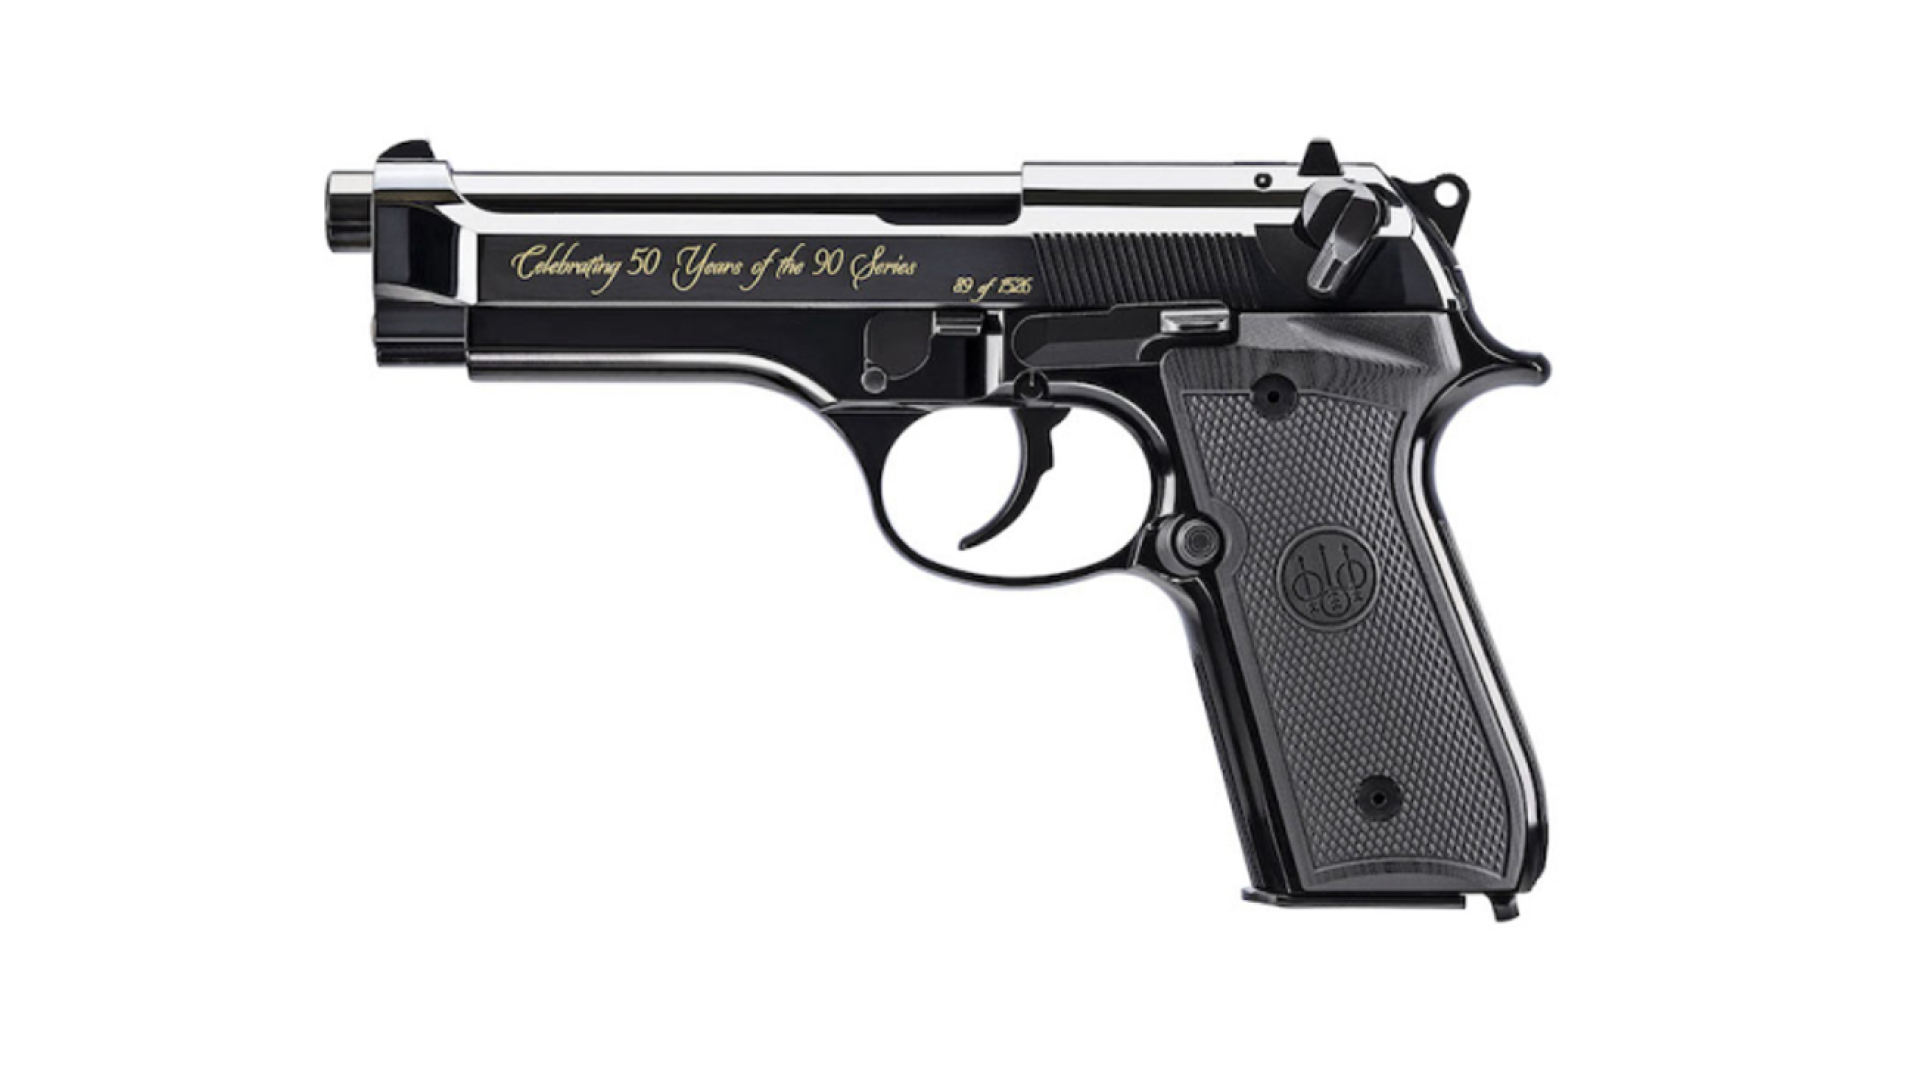
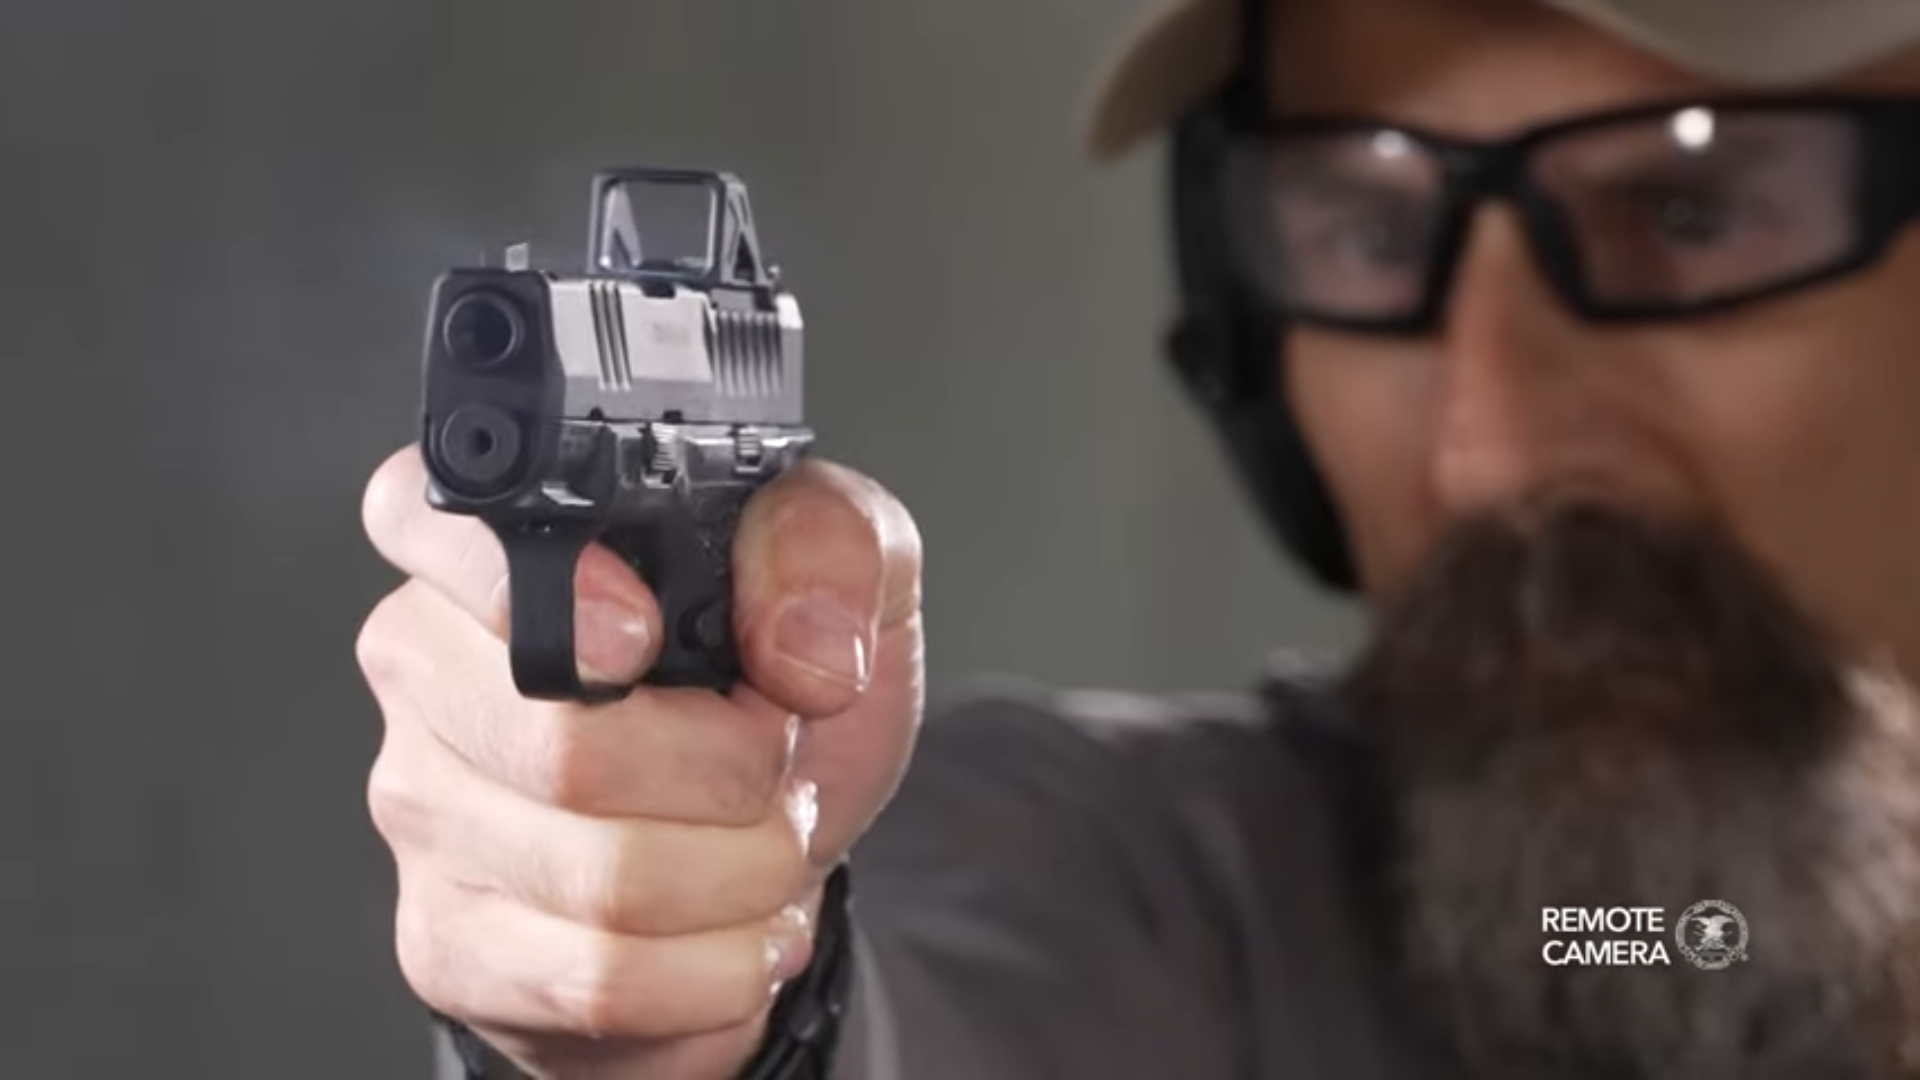
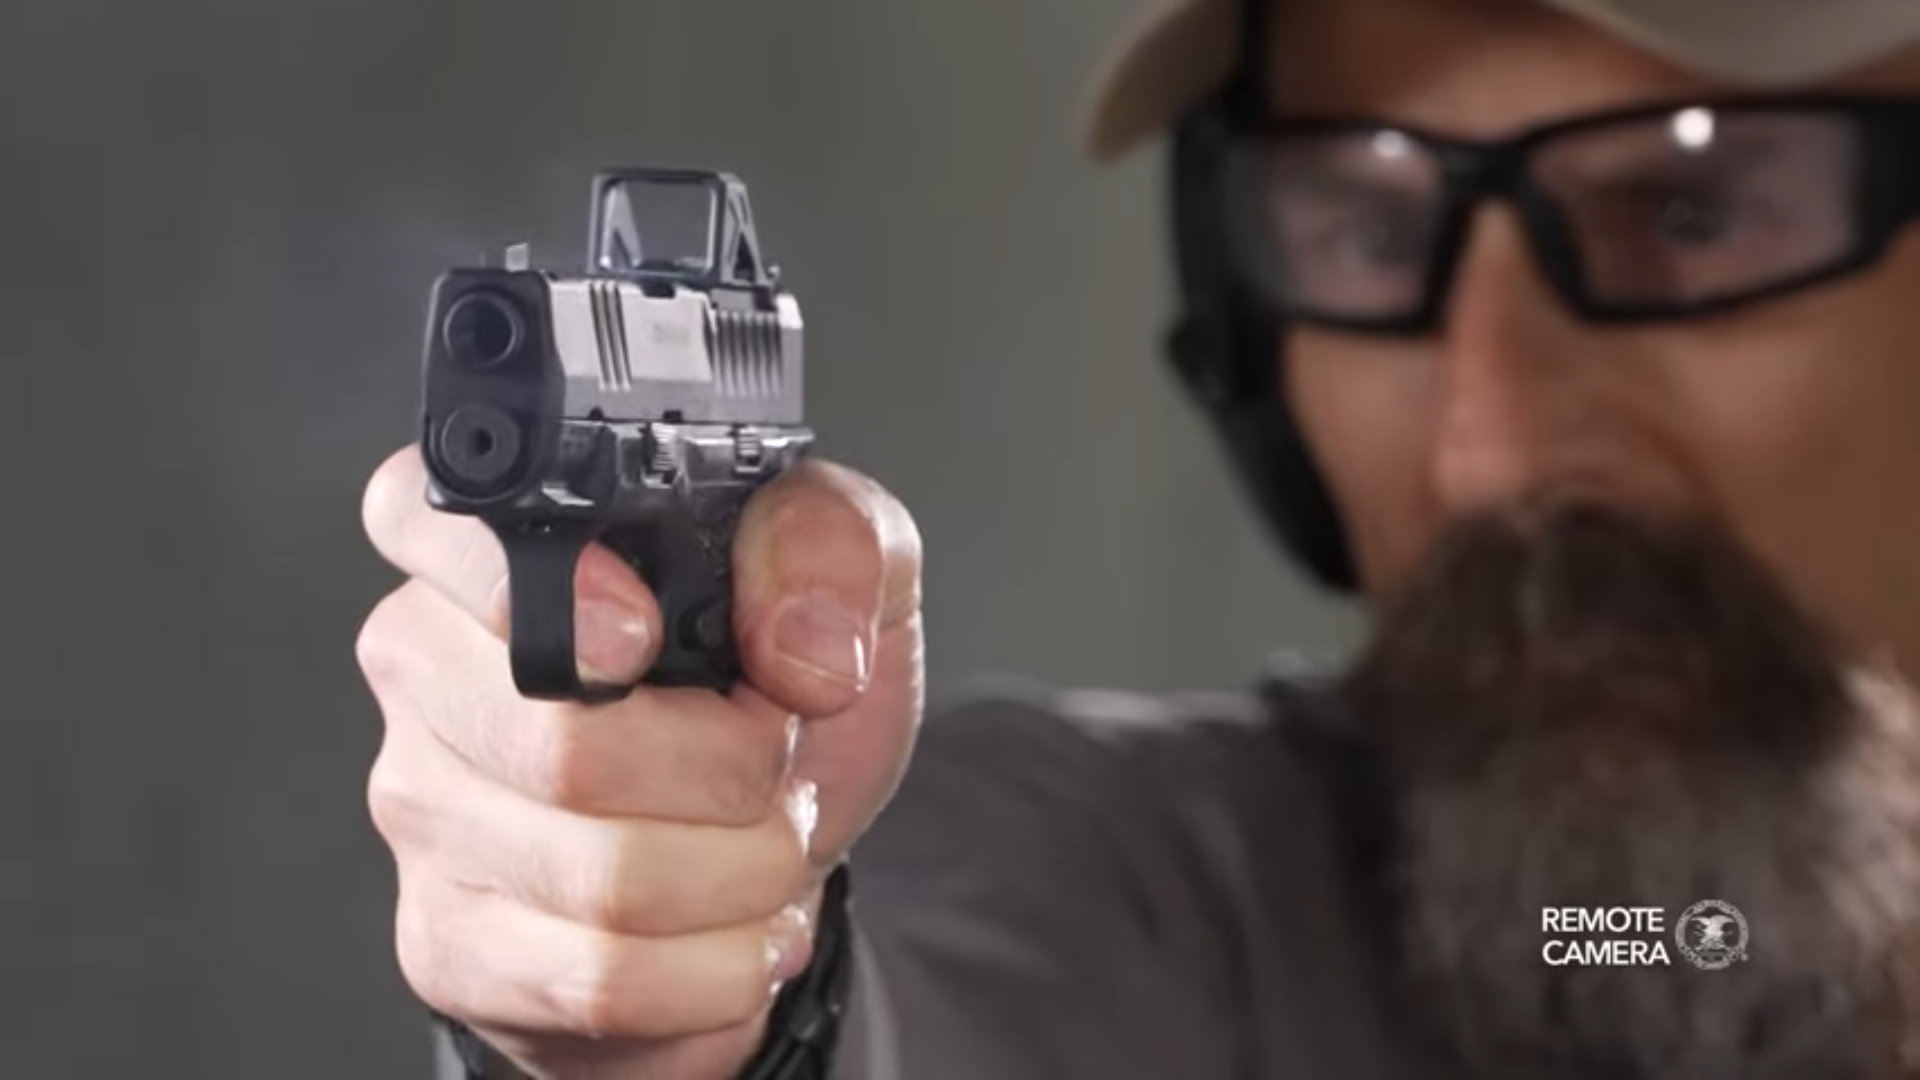
Gripping your pistol with your strong hand only is essentially just starting your two-handed grip and stopping at the point where you introduce your support hand. Yet, because this is the only hand that will be on the gun, you want to make it as perfect as possible.
Ensure that the web between your thumb and forefinger is as high as possible on the backstrap without obstructing the slide or hammer's path of travel. Your thumb should be either alongside the frame, pointing at your target, or pressed to the sky, helping to tighten your grip. Whenever possible, place said support hand across your upper torso. This keeps it out of harm's way, provides stability, and adds another layer of protection between your vital organs and an attacker.
If you haven't had any experience shooting one-handed, it’s best to practice at home without any ammunition present in the room. (Check your gun, then check it again! Here are some safety tips for dry-fire practice.) Aside from building your grip, you should also practice your trigger control through an extended period of dry fire. This is because a perfect trigger press with flawless follow-through is critical, because you won't have your support hand to cover any of your sins. After getting comfortable handling your firearm with one hand, it's time to head to the range to practice with live ammunition.
When firing your first one-handed shots, it's best to start with a low-recoiling handgun, ideally a .22LR. If one isn't available, purchase the lightest target loads you can find and avoid any +P defensive offerings until you have established control. Starting with a single round in the gun, present it, and then fire from the low-ready position. This will help isolate the new skill being learned without complicating things with a holster. After you have confirmed that you can handle the recoil with one hand, move on to putting multiple rounds into your gun and practice getting two and eventually three shots on target as fast as you can without sacrificing form.
Feeling good? Great! Let's kick it up a notch by switching the gun over to your weak hand and repeating the process from the ground up. This is an integral part of the drill because 9 out of 10 times it will be your dominant hand that is full when you’re presented with a threat. You'll notice that holding the gun on target is far more difficult, and your sight picture will likely be blurry. This is because you'll probably be presenting the gun in front of your non-dominant eye.
Fix this by sliding the firearm to the dominant side of your face or even closing the opposite eye. These are less-than-perfect solutions, but so are all emergency defensive scenarios. The key here is to break the shot faster than if it were being held in your strong hand, simply because your muscles will fatigue much earlier. The good news is that the conditioning process is relatively fast, and most of my students see progress in as little as three range trips.
In all things in life, we steer towards what is most comfortable. Unfortunately, the universe typically has other plans. The only possible way to prepare for this environment is to meet it head-on, and that means making things a little weird on the firing line. After you have conquered the techniques described above, try complicating matters by putting a hand behind your back or holding a heavy item. Since we never know what will be thrown your way, your training procedures should only be limited by safety and imagination.


